
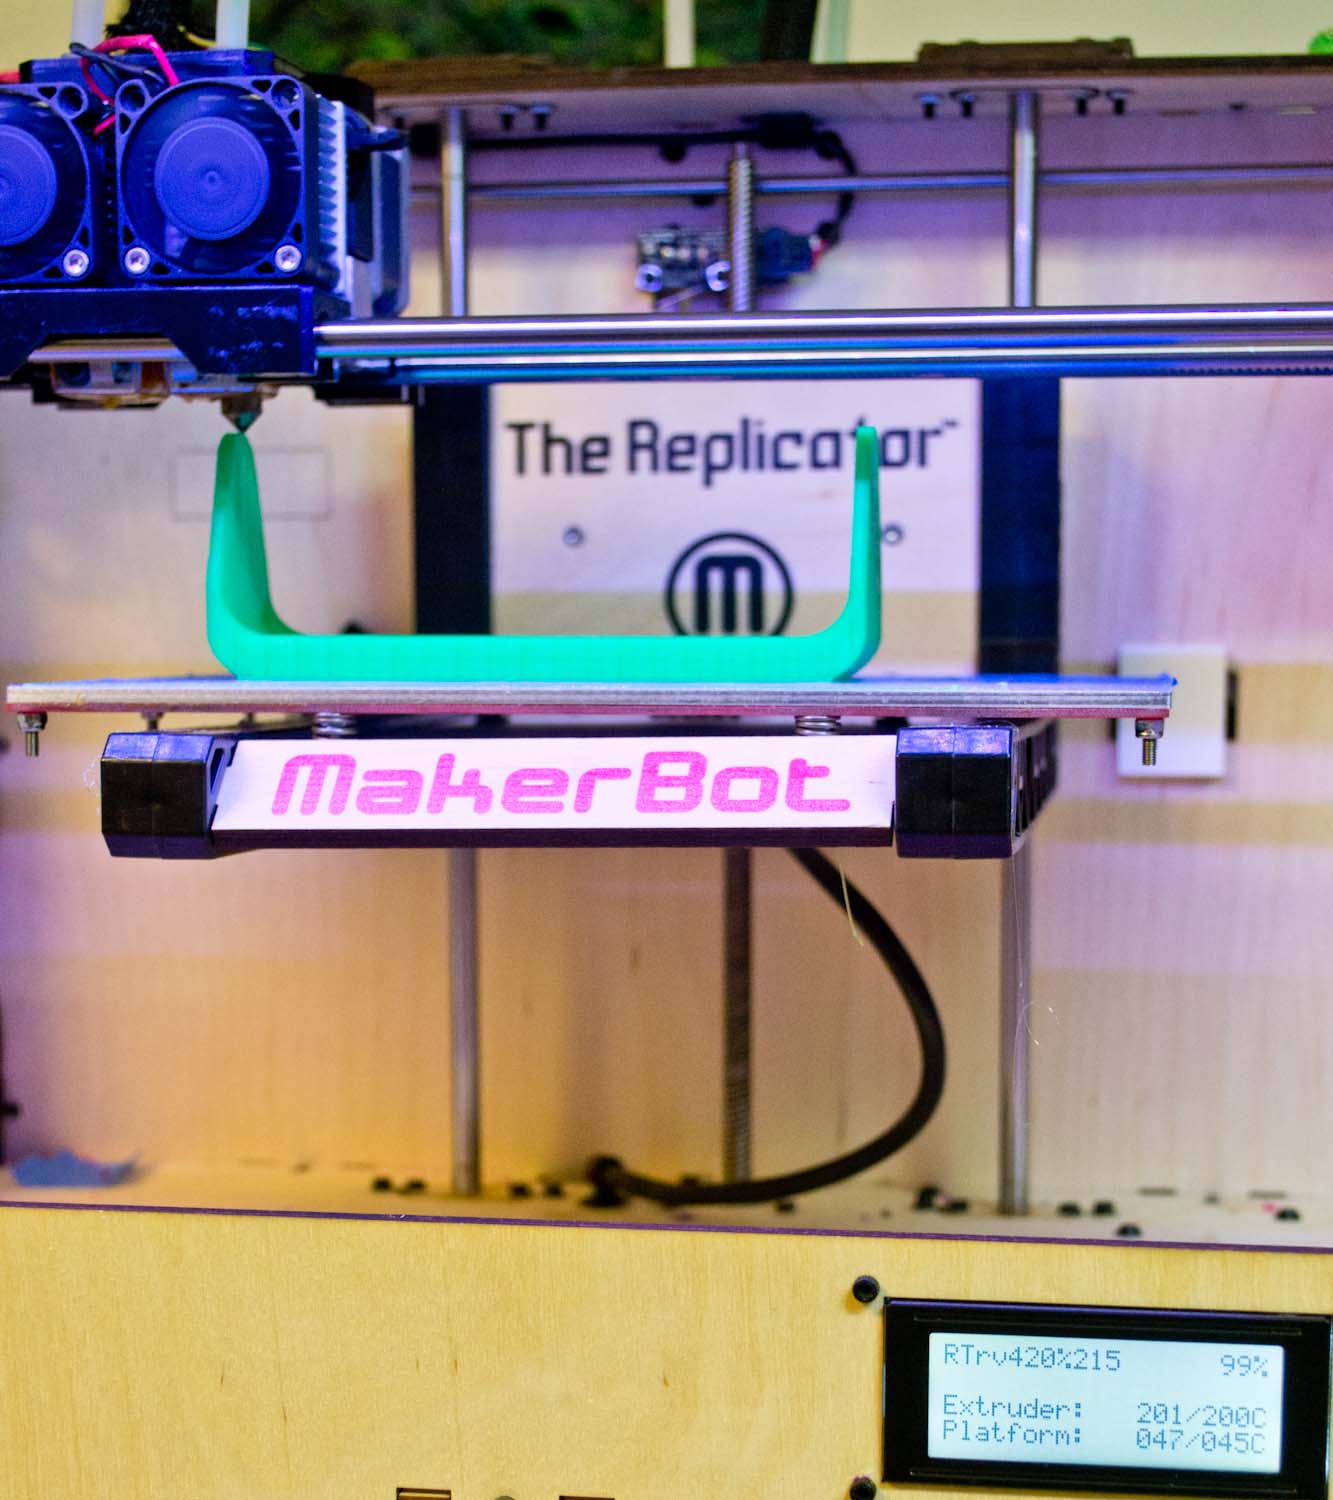
For printing on a Makerbot Replicator 1 with Sain Smart PLA, single 0.4 mm MK8 nozzle, 210°C, build plate at 45°C.
I print all leg brackets from ABS for extra resilience.
Layer height = 0.2 mm, base print speed = 120 mm/second, travel speed = 200 mm/second (acceleration is ON).
For other printers and materials, different settings may be appropriate.
Upper frame:
- Position: The frame must lay on its back with the printed labels upward. The model has tabs at the end of each arm to improve adhesion to the build plate there.
- Size: The long dimension of the part should be 155 mm.
- Support: ON (required for the suspension attachment bracket, otherwise none is needed)
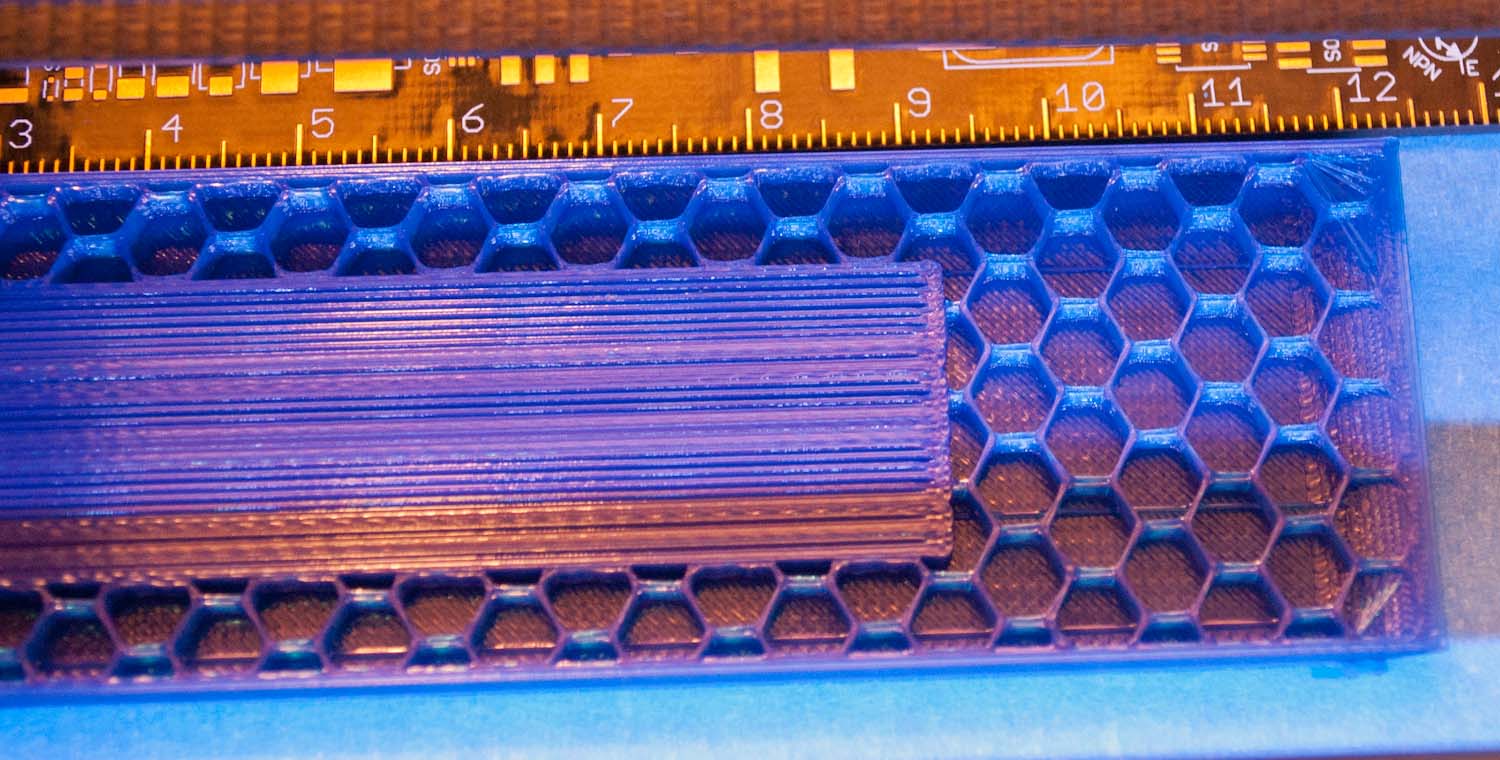
- Infill: 25%
- Shells: 2
- Time: 3.6 hours
Leg brackets:
- Position: Lay horizontally on the flat back.
- Size: The long dimension should be 36.3 mm
- Support: OFF (otherwise support must be drilled out of the long tube)
- Infill: 35%
- Shells: 4
- Time: 1.3 hours (for two)
Camera tray: (regardless of model)
- Position: Lay upright on bottom.
- Size: The long dimension should be 140 mm
- Support: ON (just for the curve at the base of the sides)
- Infill: 25%
- Shells: 2
- Time: 2.5 to 3 hours