
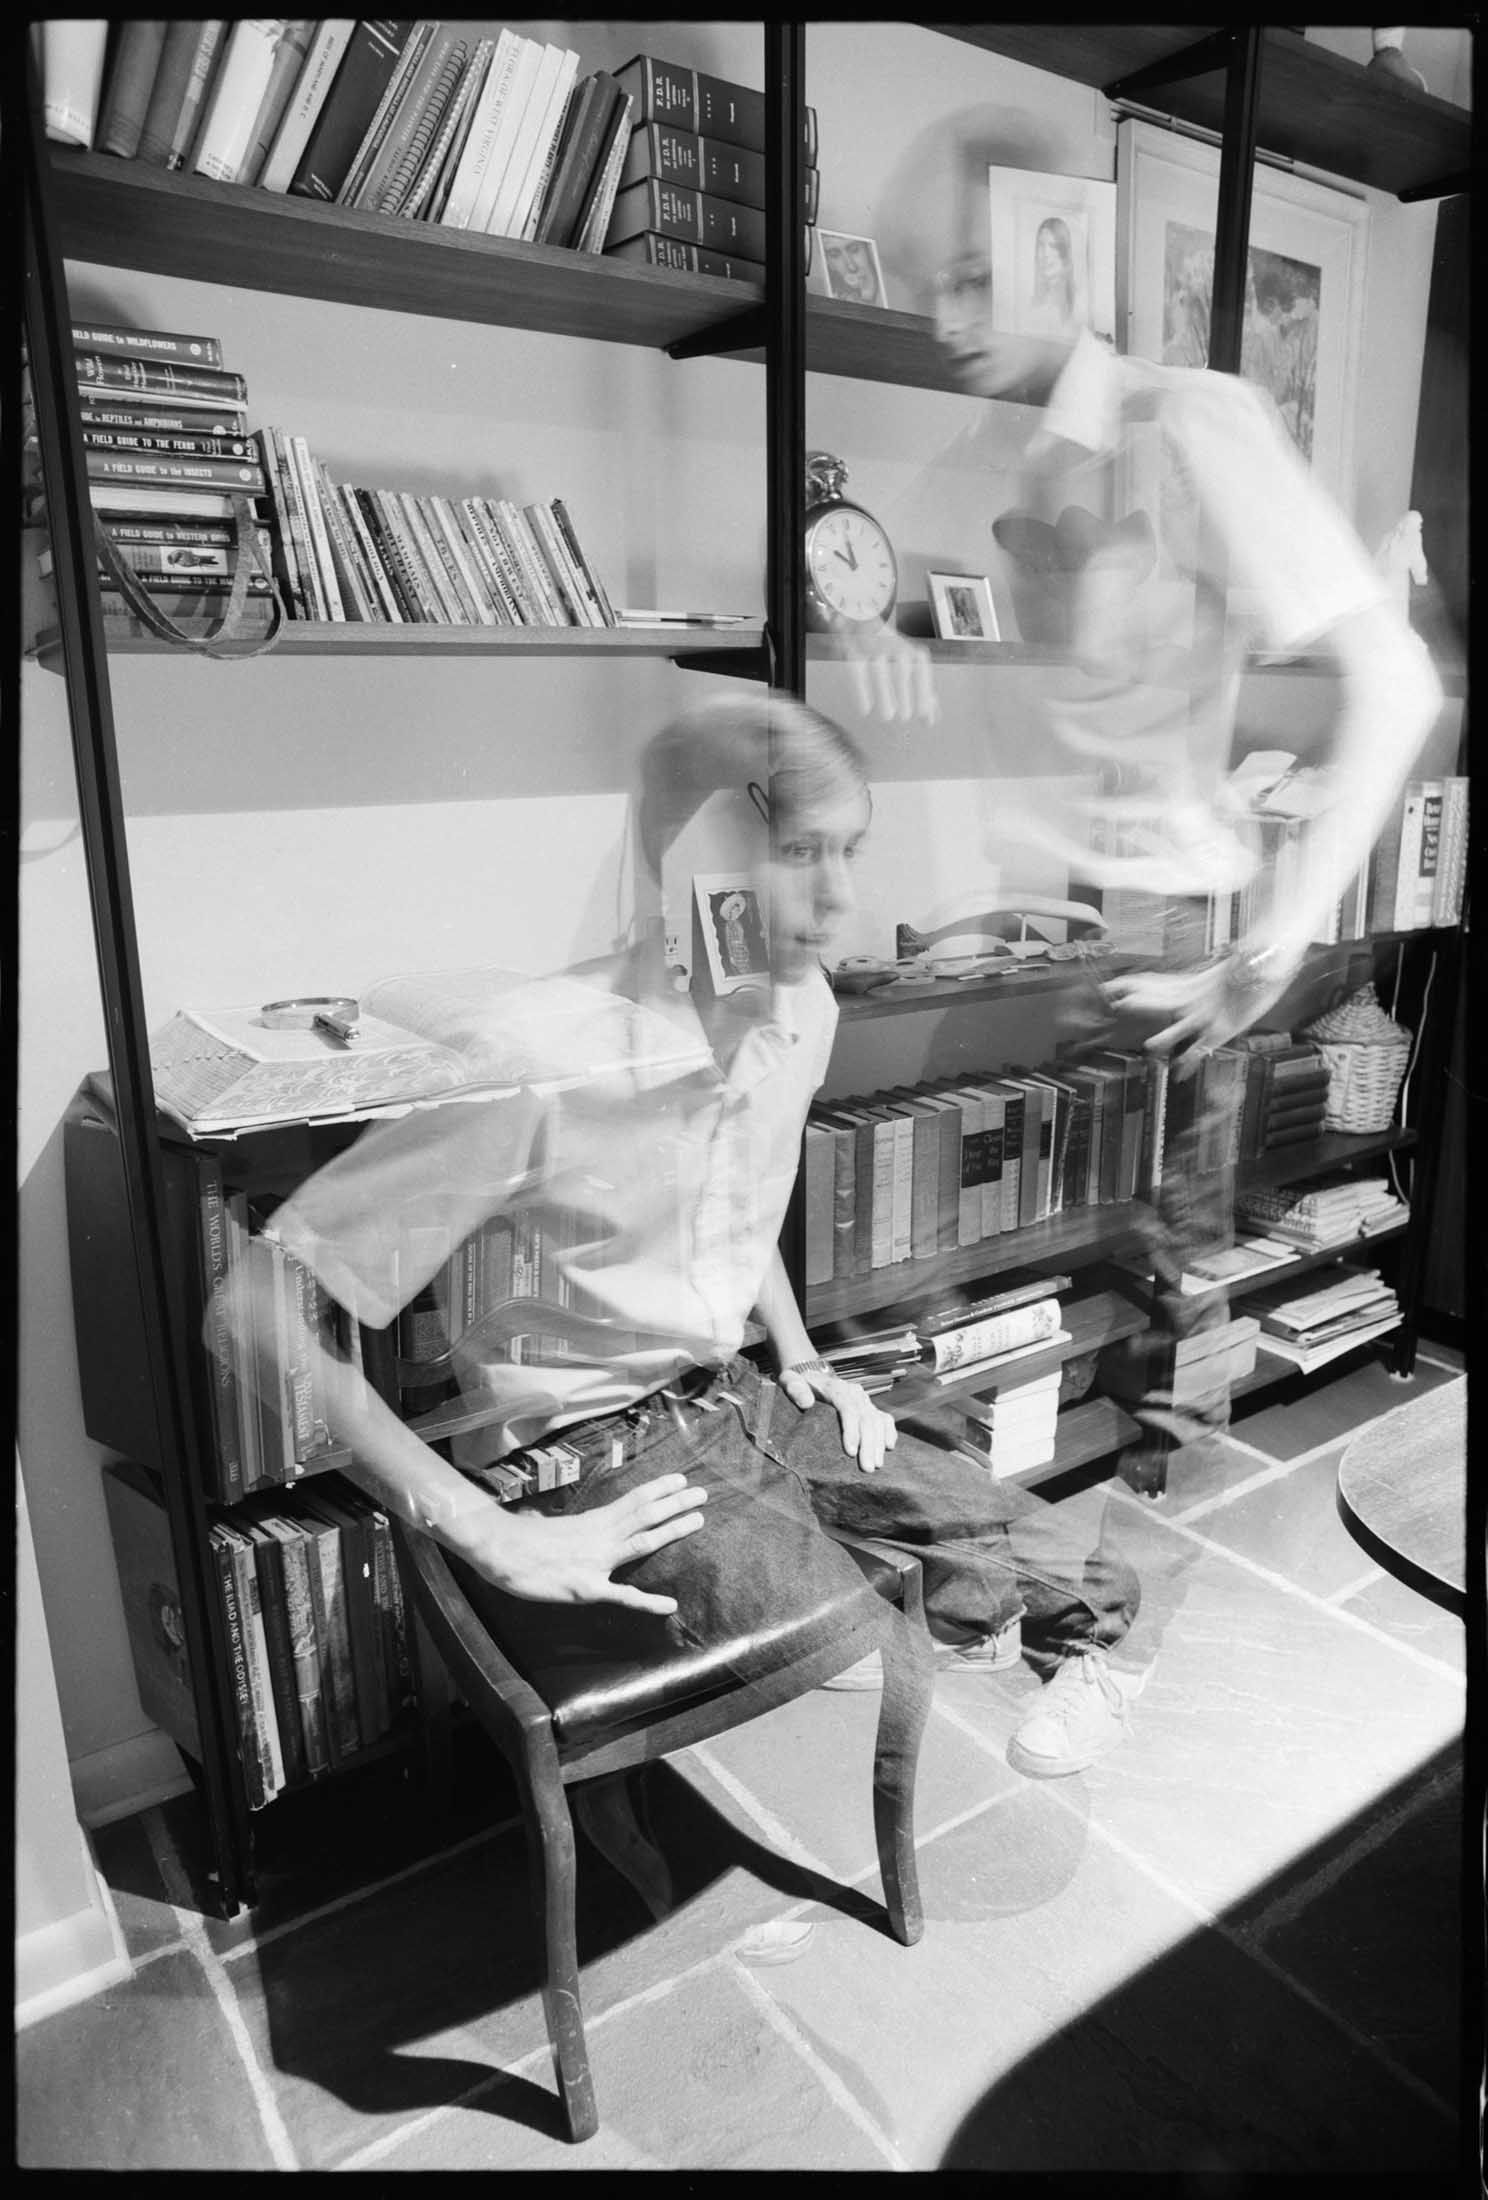
It was not easy to find a photo of these bookshelves as they were installed in my parents’ house. The shelves were behind a table and hard to photograph, and they were also not very photogenic. I thought they were cool and modern in the sixties, but I never thought they were important (I do now). The shelves are probably in the background of some other photos, but this one from 1972 was the first I came across and is certainly more interesting than the rest. Many of the books in this shot are still on these shelves.
I moved these shelves to Vermont in 1999 and installed them on the second floor of my house where they were stuffed full of books. To make them fit I had to cut about seven inches off each of the four vertical aluminum poles. I have wanted to move the shelves down to the living room for several years even though all the other furniture down there is not modern (that’s why they didn’t go there originally). But the poles were now too short for that room. I looked into buying new poles, but the company is long gone.
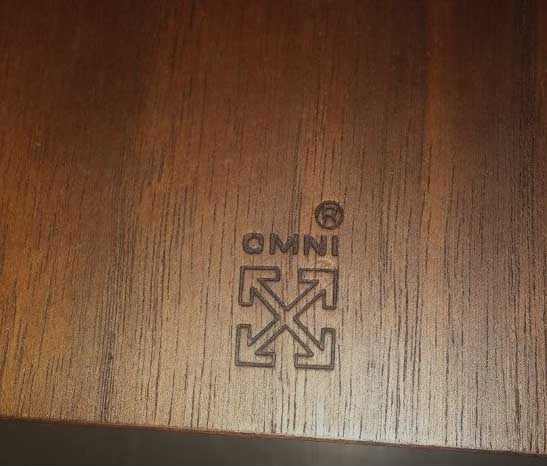
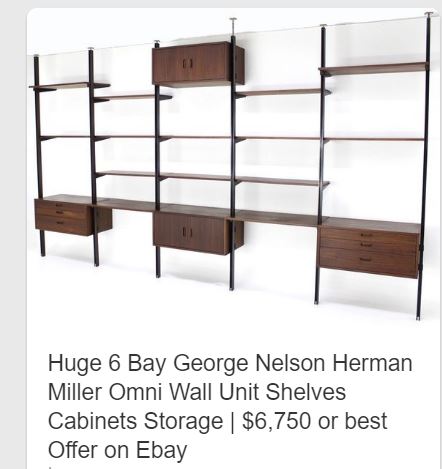
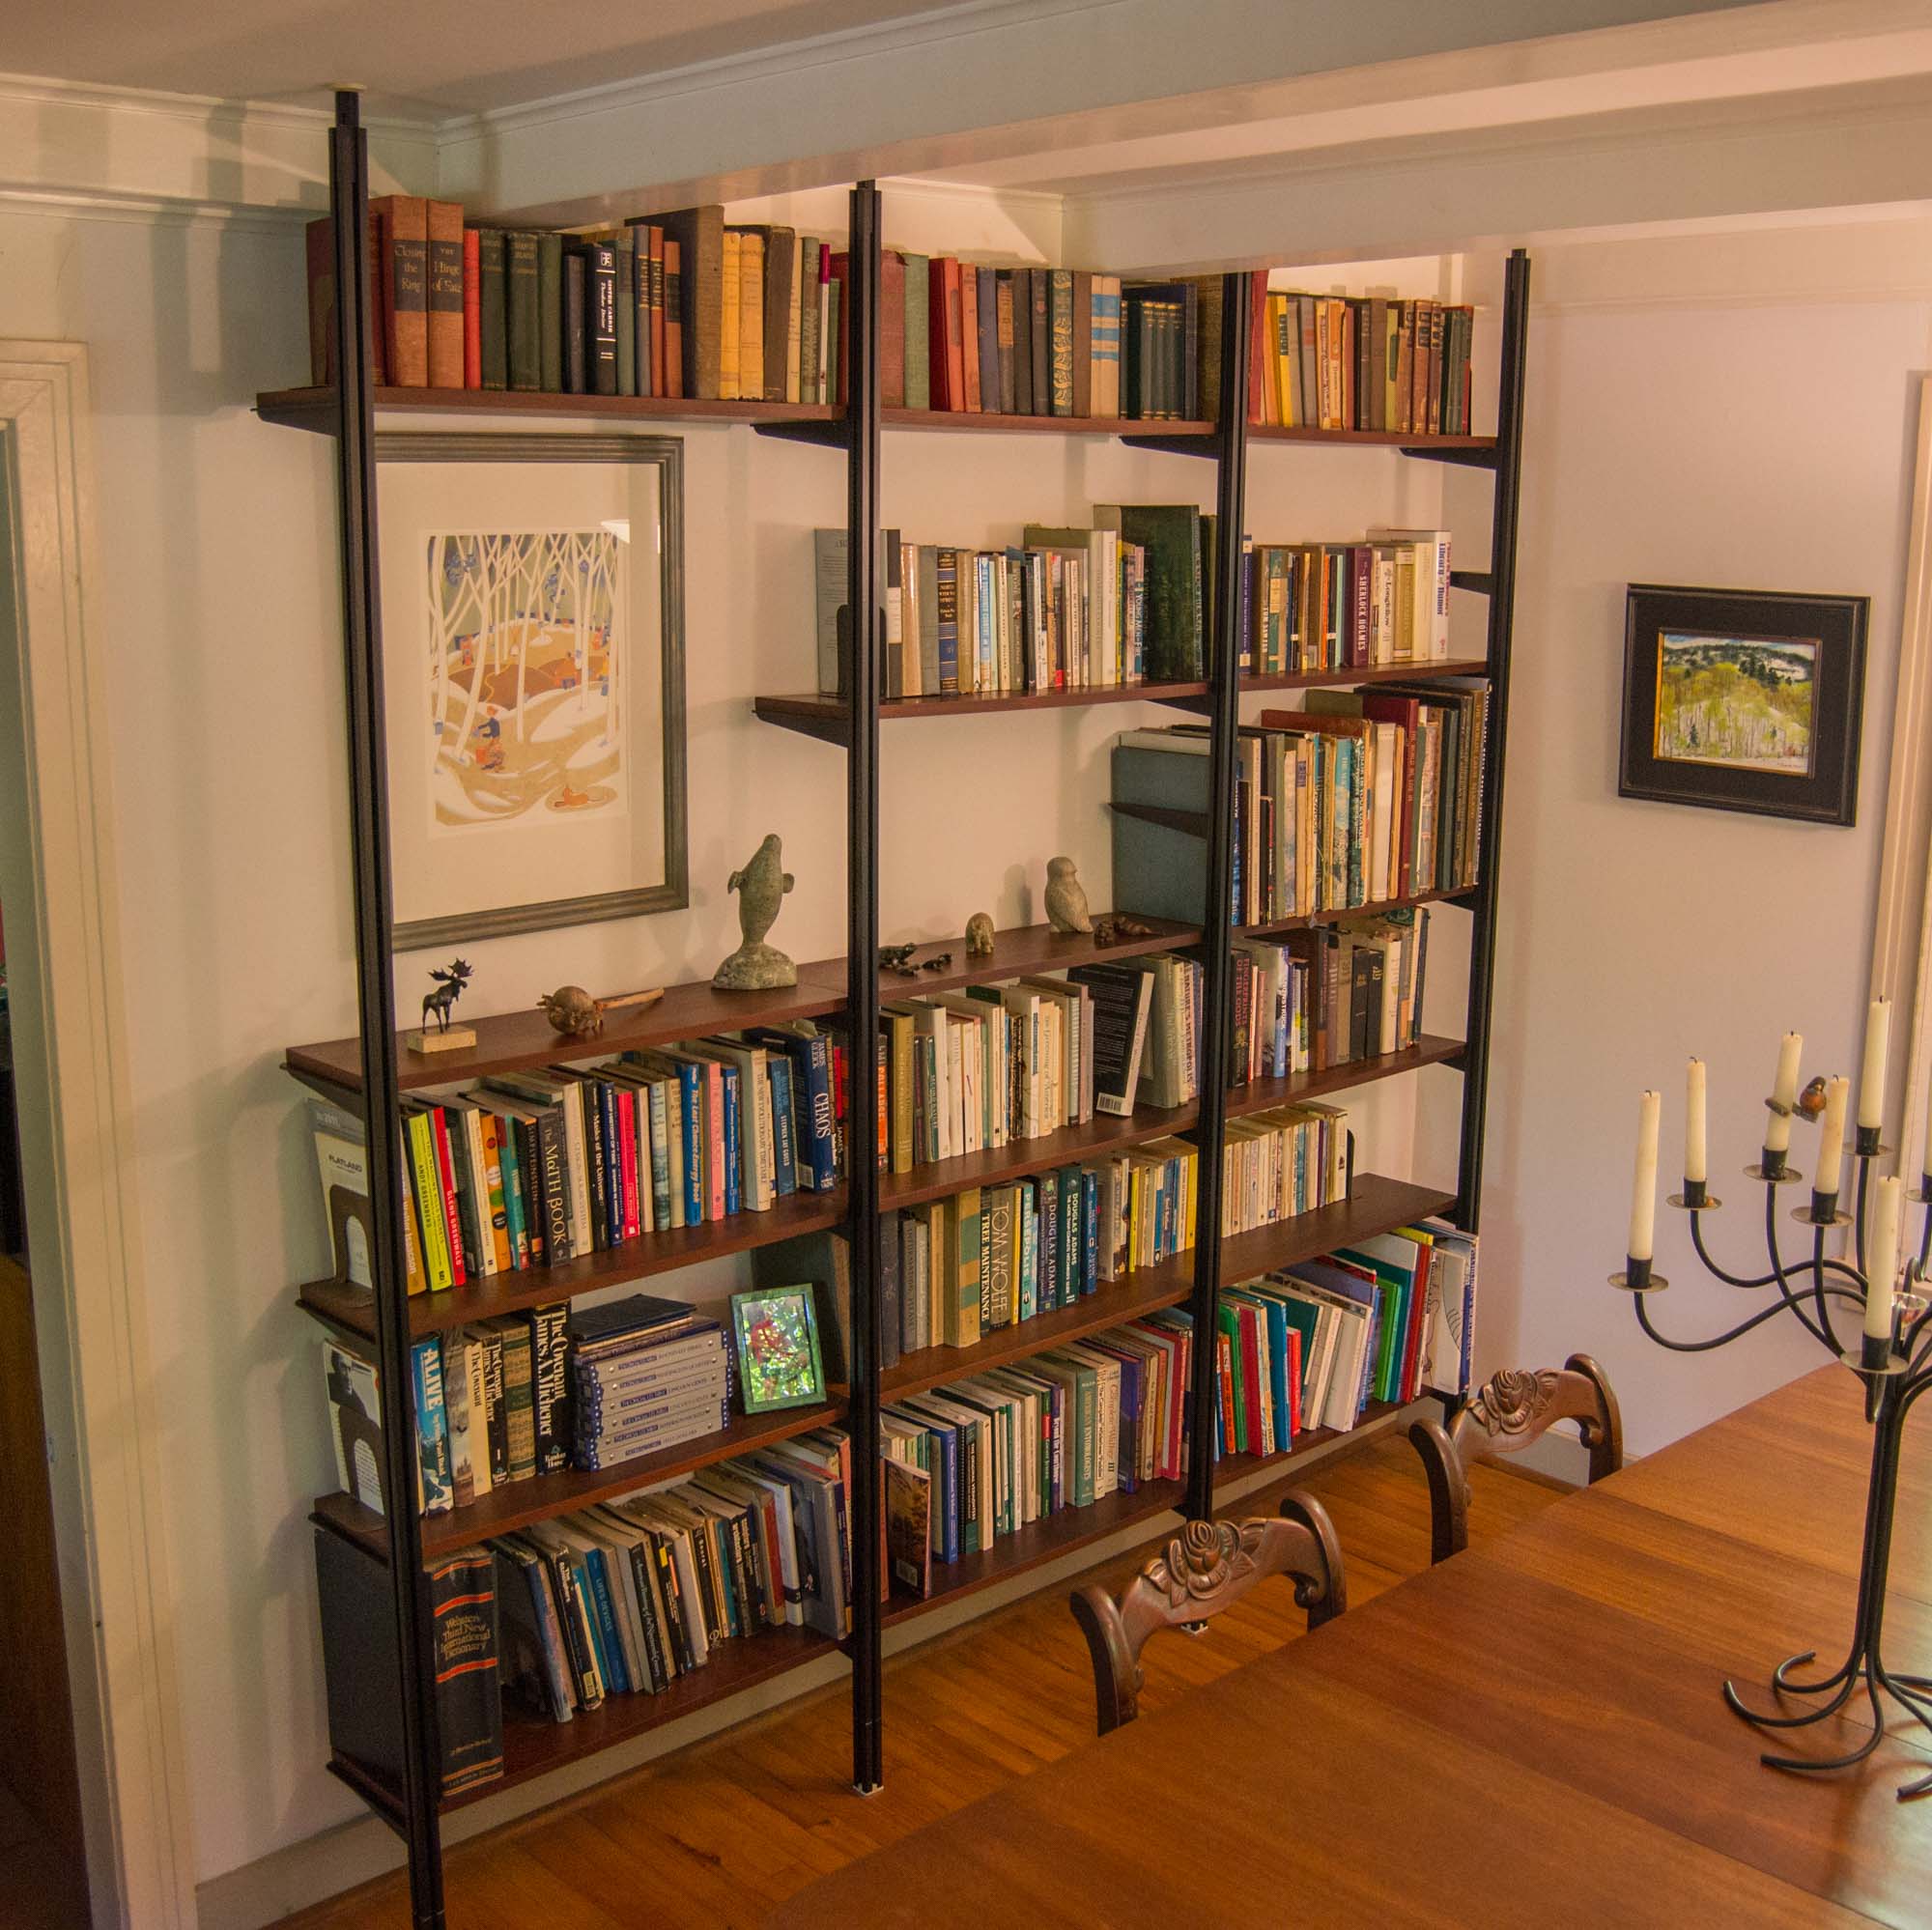
In the process of looking for the company, I learned that shelving units like this are one of the icons of mid-century modern American furniture. George Nelson, who joined Herman Miller Inc in 1944, promoted this type of minimalist, modular shelf system including some manufactured under the Omni brand. My shelves are made by Omni, and I think they are designed by Nelson. Shelf units like this from the 50s and 60s are sold as mid-century modern antiques and typically sell for $1000 to $8000.

Although I could not buy replacement poles without buying expensive antiques, I learned that the poles are T slot aluminum extrusion which are commonly used today for building many things including 3D printers and robotic projects. It’s possible to buy a very similar pole in the proper length for as little as $20. So my interest in moving the shelves was rekindled.

I thought it might also be possible to weld the cut pieces (I had saved them) back on to the ends of the poles. In August my neighbor offered to see if the welder at his workplace could do the welding. There was a tight window so I had to immediately remove the books, dismantle the shelves, match up the cut pieces with the proper pole, and wrap the poles to protect them during the process. My neighbor took them to work, but two days later returned them and reported that the plan would not work.


With the books scattered around the second floor, I was now committed to moving the shelves and had to figure out how to join the cut pieces to the poles. I thought that instead of welding I could make the join strong enough by inserting some strong rods in the four interior angles of the poles. I found that 9/16” diameter rod fit snugly, and bought $10 worth of threaded rod at the local hardware store. This worked so well that I decided to use only two short pieces per pole which meant that the rods would be inconspicuous unless you were looking for them. I cut the pole pieces to the lengths needed for the living room (each one was custom fit), and soon had the poles and brackets installed.
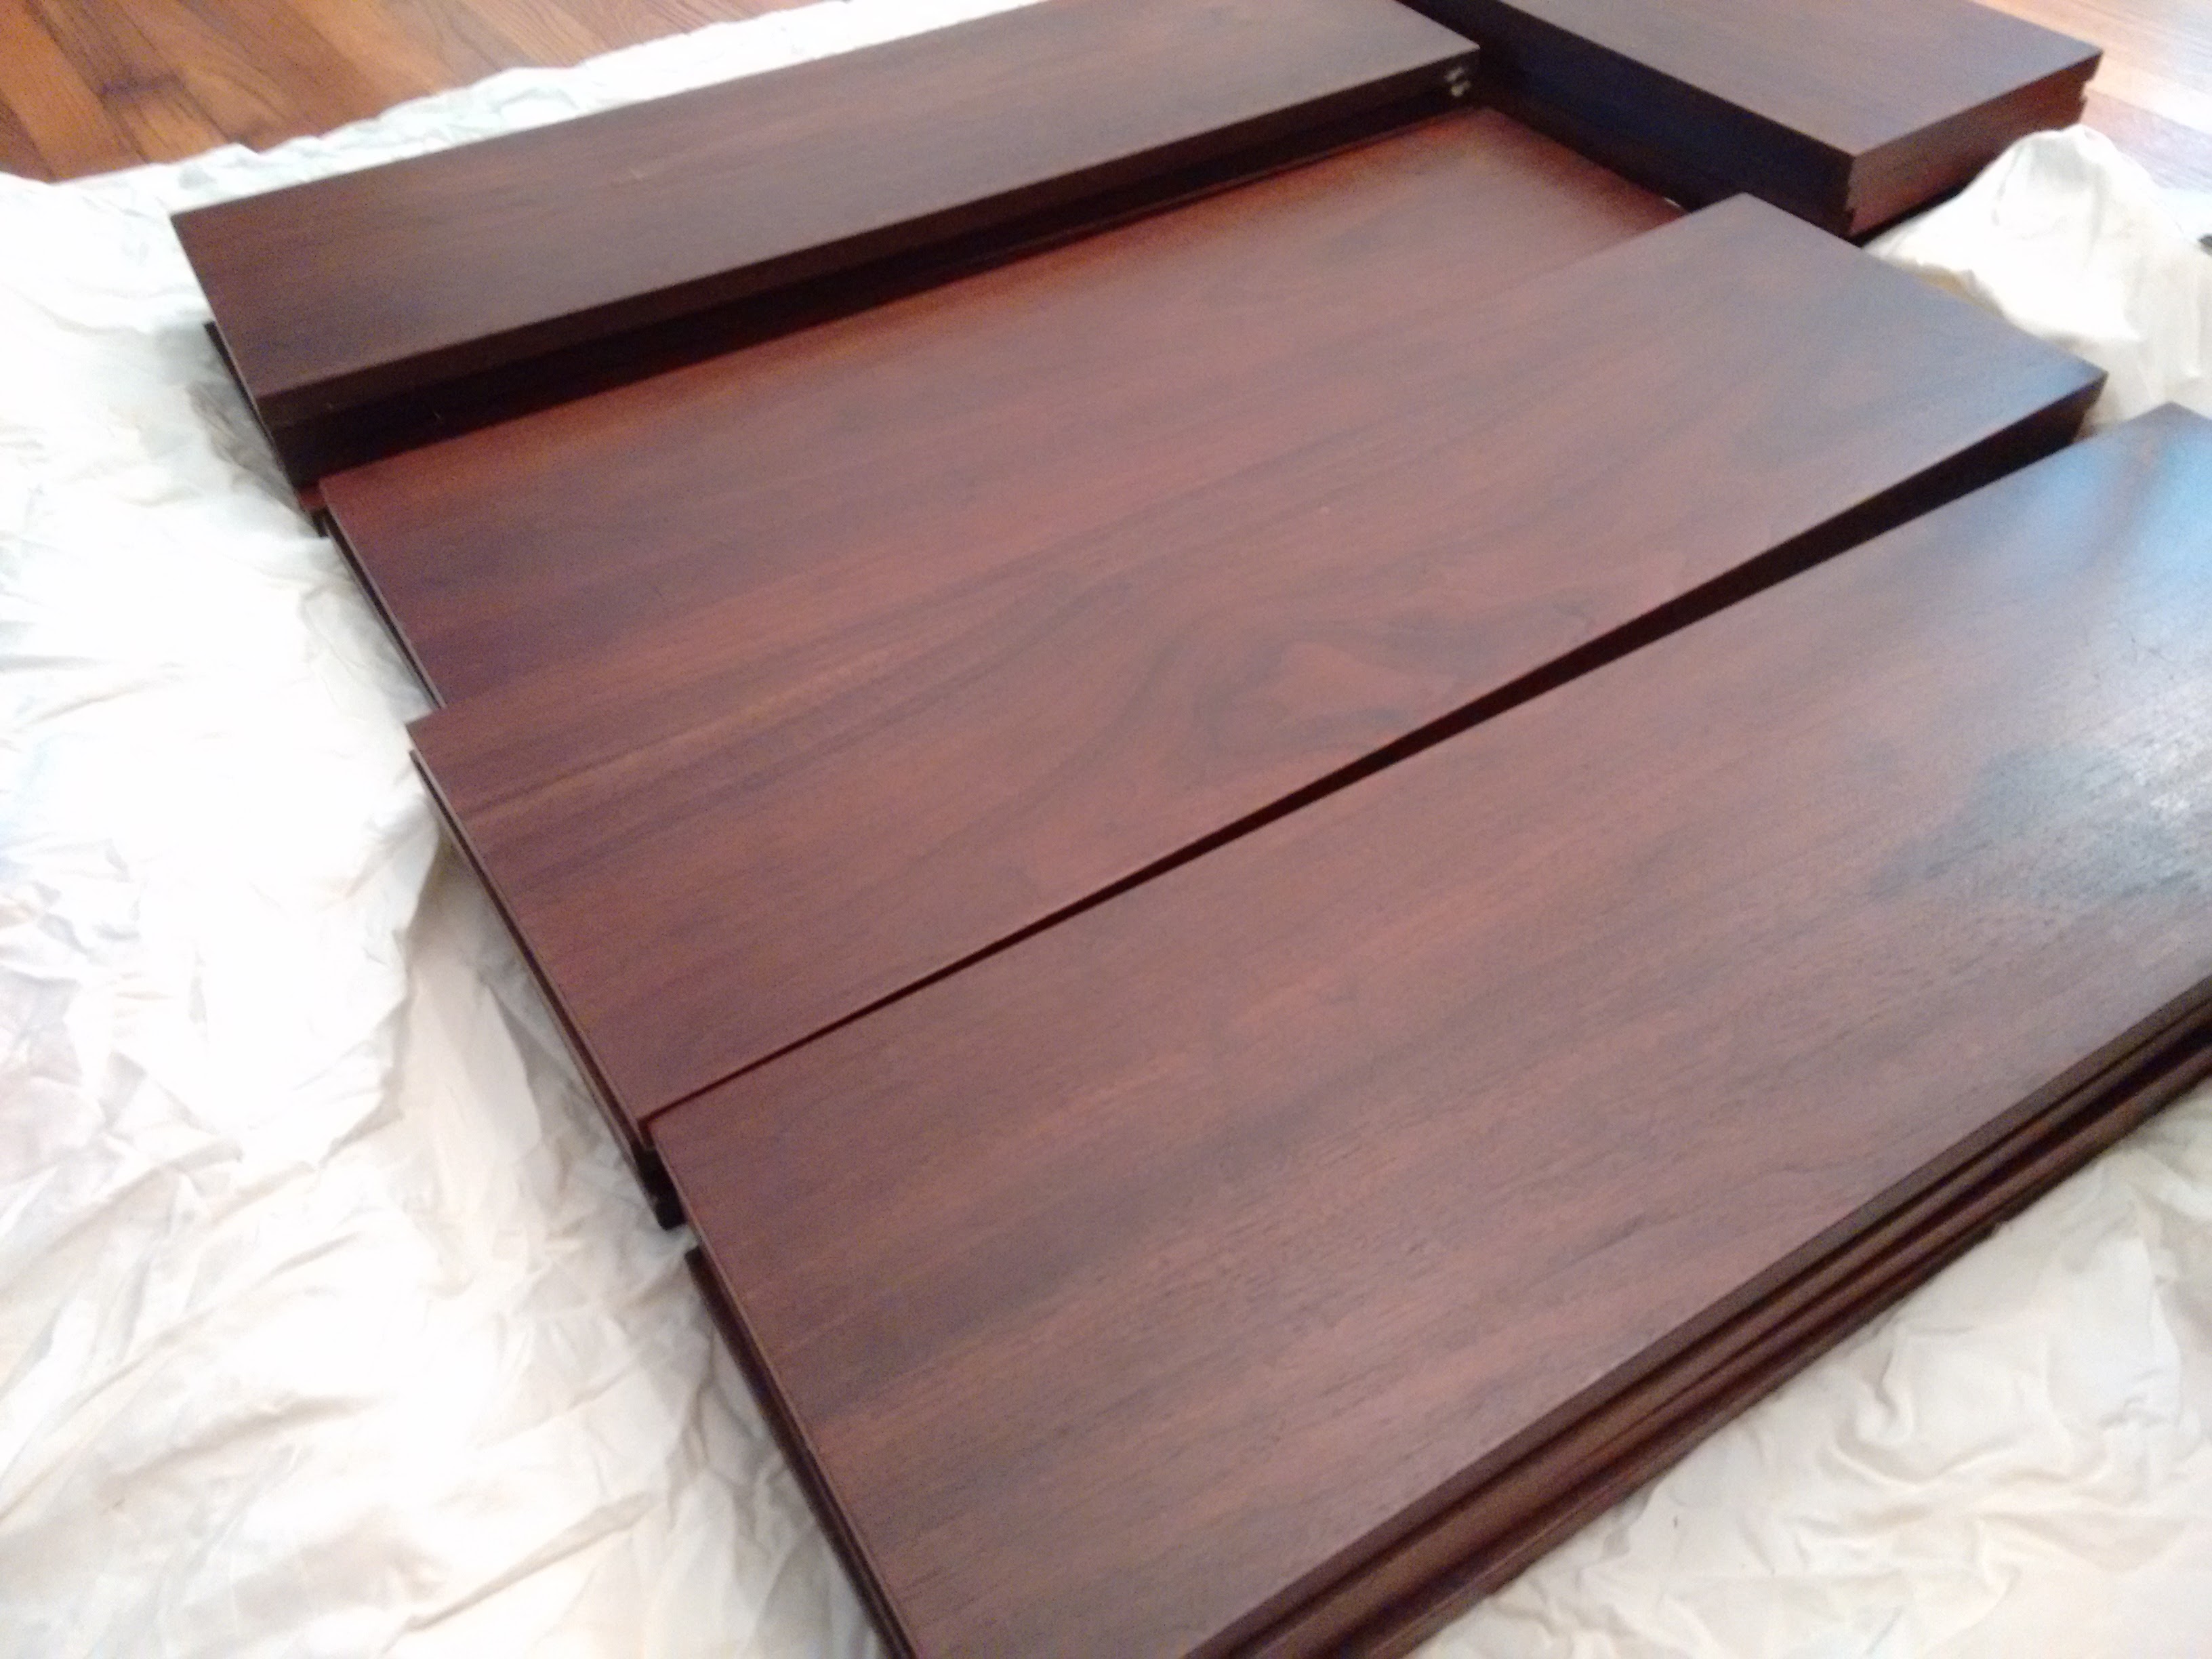
The black walnut veneer on the wooden shelves has aged well and there is not one place where an edge seam can be detected due to delamination. They really knew how to apply veneer in the sixties. I washed each shelf with Murphy’s Oil Soap and then applied generous amounts of lemon oil. They look almost like new.


The hardest part was moving all the books down the stairs and vacuuming 17 years of dust off each one. The funnest part was sorting the books and figuring out how to arrange them. It’s much nicer to have all the books downstairs where they are more accessible and visible. The shelves are also reunited with the 1940s mahogany dinning set that was next to them in the sixties and seventies. The styles don’t match, but it feels more like home.
I have 2 OMNI shelf units, each just a single bay with 2 vertical poles each. There is a 42″ wide one with a file cabinet, a shelf with shallow drawers and then a plain shelf. the other one is 32″ wide with 3 shelves, and a cabinet with sliding doors.
What would be the best way to sell them?
Hi Brian,
I didn’t have to buy new T-slot poles because I was able to reattach the end sections I had cut off the poles. The critical dimensions seems to be the width of the slot and the thickness of the aluminum walls at the slot. As long as the shelf brackets fit snugly it should work fine.
Chris
Which modern T-Slot profile did you end up using?
I have a few sections of OMNI shelving in my home office, and would like to be able to use the widely available modern T-Slot hardware to accessorize. I am trying to decide which modern profile is ‘most-compatible’, but I haven’t been able to find a dimensional drawing of the original OMNI hardware.
My poles are actually the 1″x2″ slab sided type, but all the OMNI shelf hardware I have seen in photos appears identical, i.e. the poles appear to be interchangeable.
Thanks!
I remember that guy in the 1972 photo.
Which one?