Last spring, Barry Warzak of Midwest Optical Systems (MIDOPT) in Illinois contacted Ned Horning about writing an article on dual bandpass filters. Ned got me involved, and Barry also became interested in having us try some of the new filters he was developing. The primary focus of MIDOPT is industrial machine vision filters and lenses, but Barry recognizes the potential in the emerging market for agricultural analysis and aerial imaging. Barry has sent us samples of 15 different filters that could be used for infrared plant health analysis. Some of these are fancy dichroic filters that transmit one or two very narrow bands of color, and others are high quality glass filters that have spectral qualities similar to Wratten 25A, Wratten 15, or Schott BG3 filters.
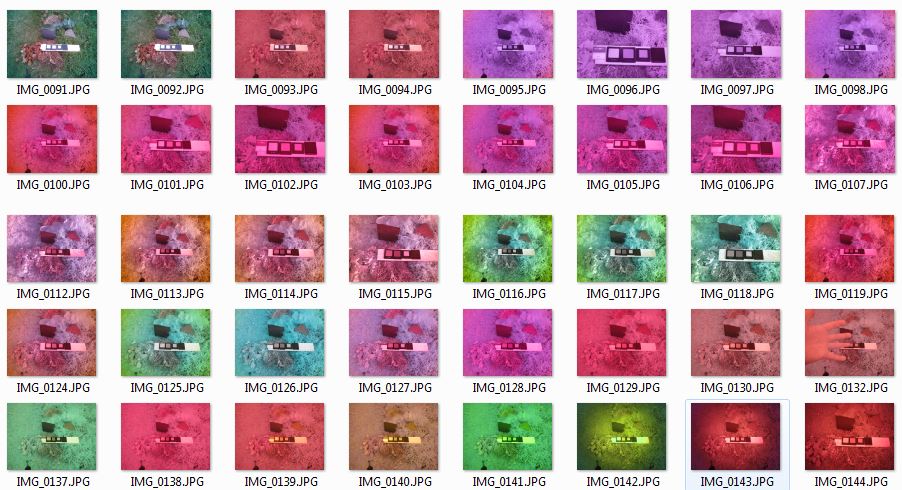
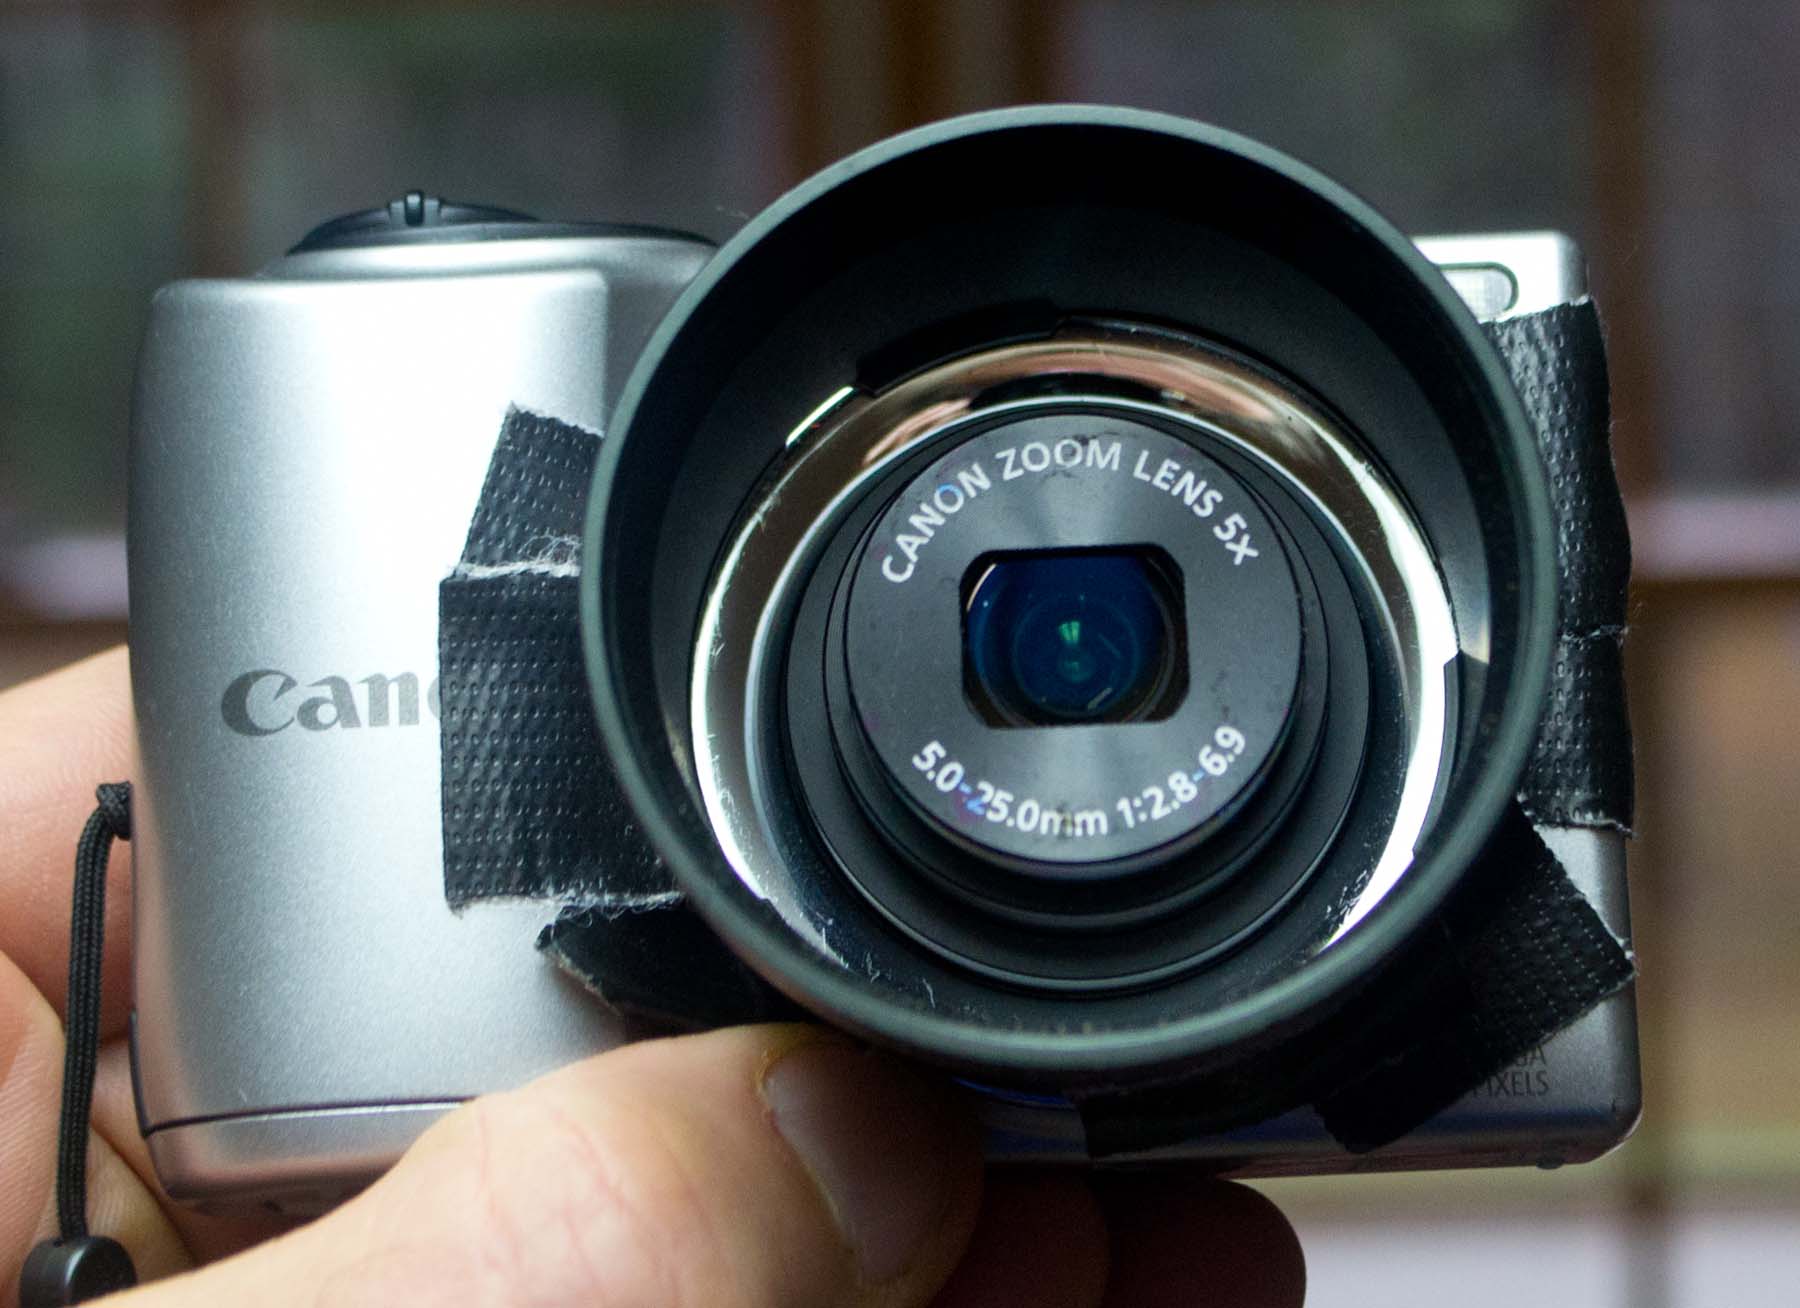
Above: A folder full of photos of the same scene taken with different filters and different white balance settings.Above: I taped a tube for 52 mm threaded filters to a PowerShot A810. But the shiny ring around the lens reflected off the inside of the filter and ruined some of the photos.
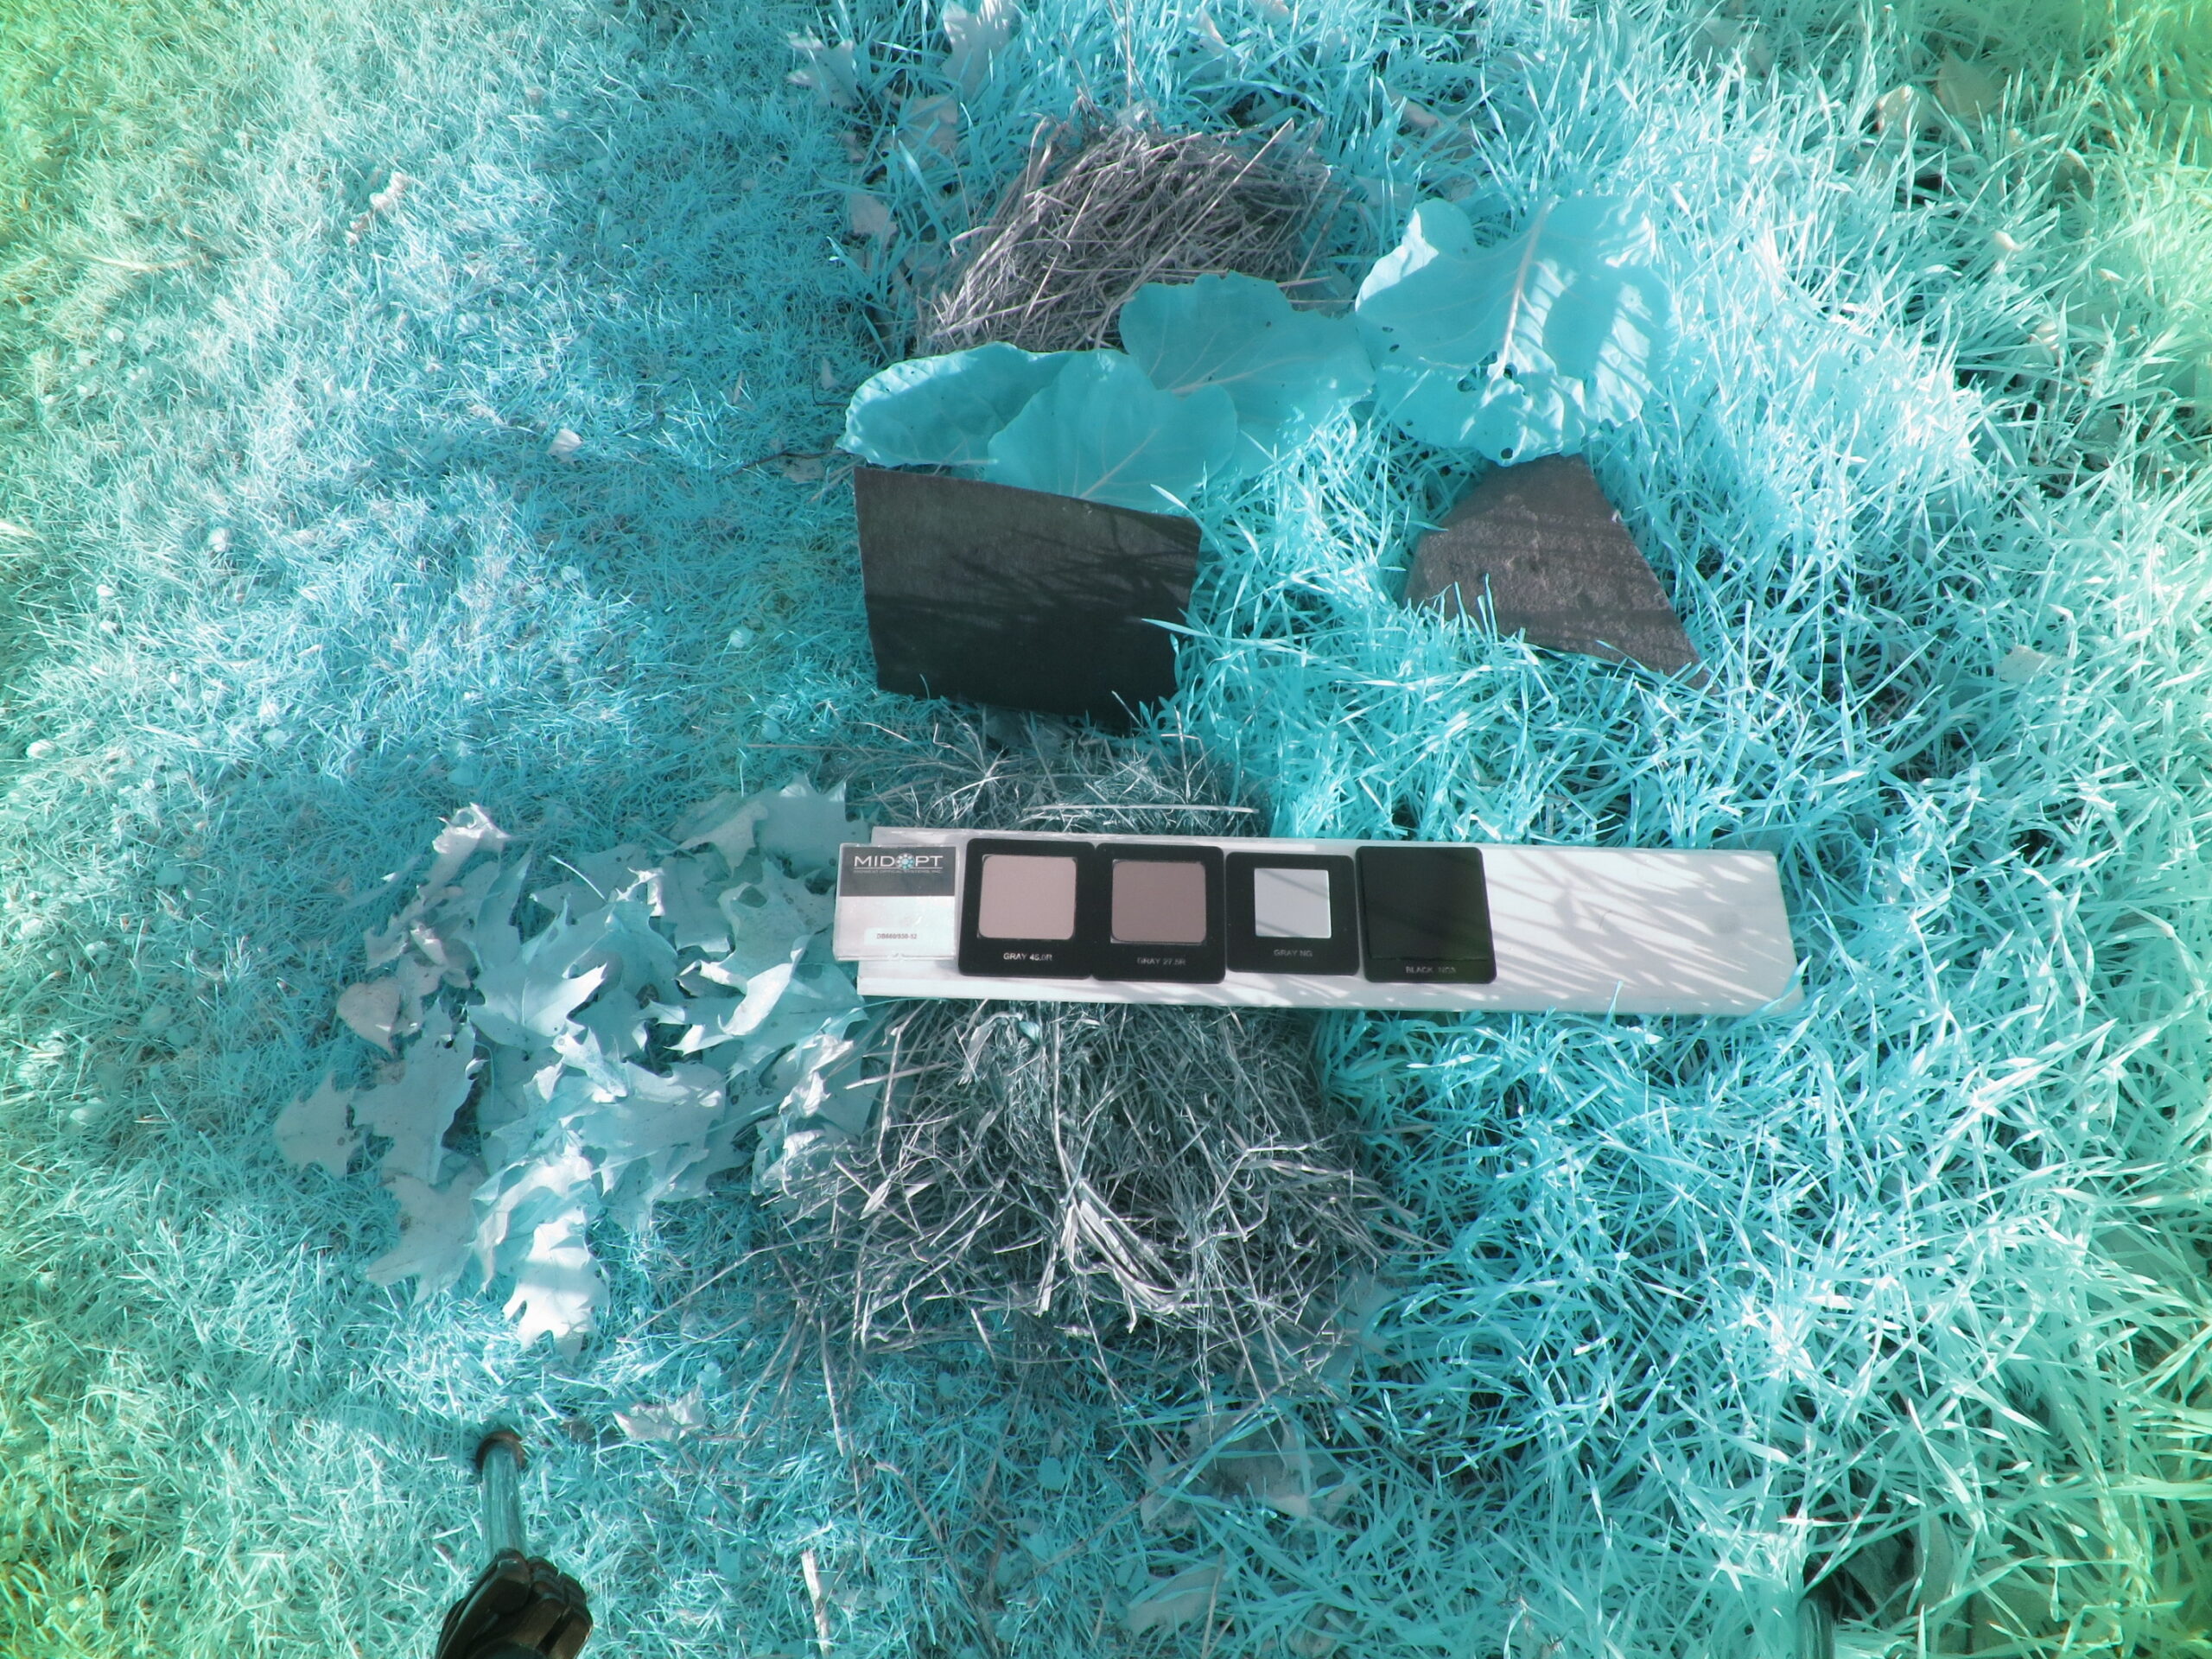
Ned has been using the filters in his experiments with calibrating NDVI images, and Barry recently sent us samples of calibration targets of known spectral reflectance. This type of target is placed in the scene to be photographed so the brightness of each pixel in a photo can be related to actual reflectance or radiance at different wavelengths. This is required if the NDVI values derived from photos are to have values that can be related to legacy NDVI (e.g., from satellites).
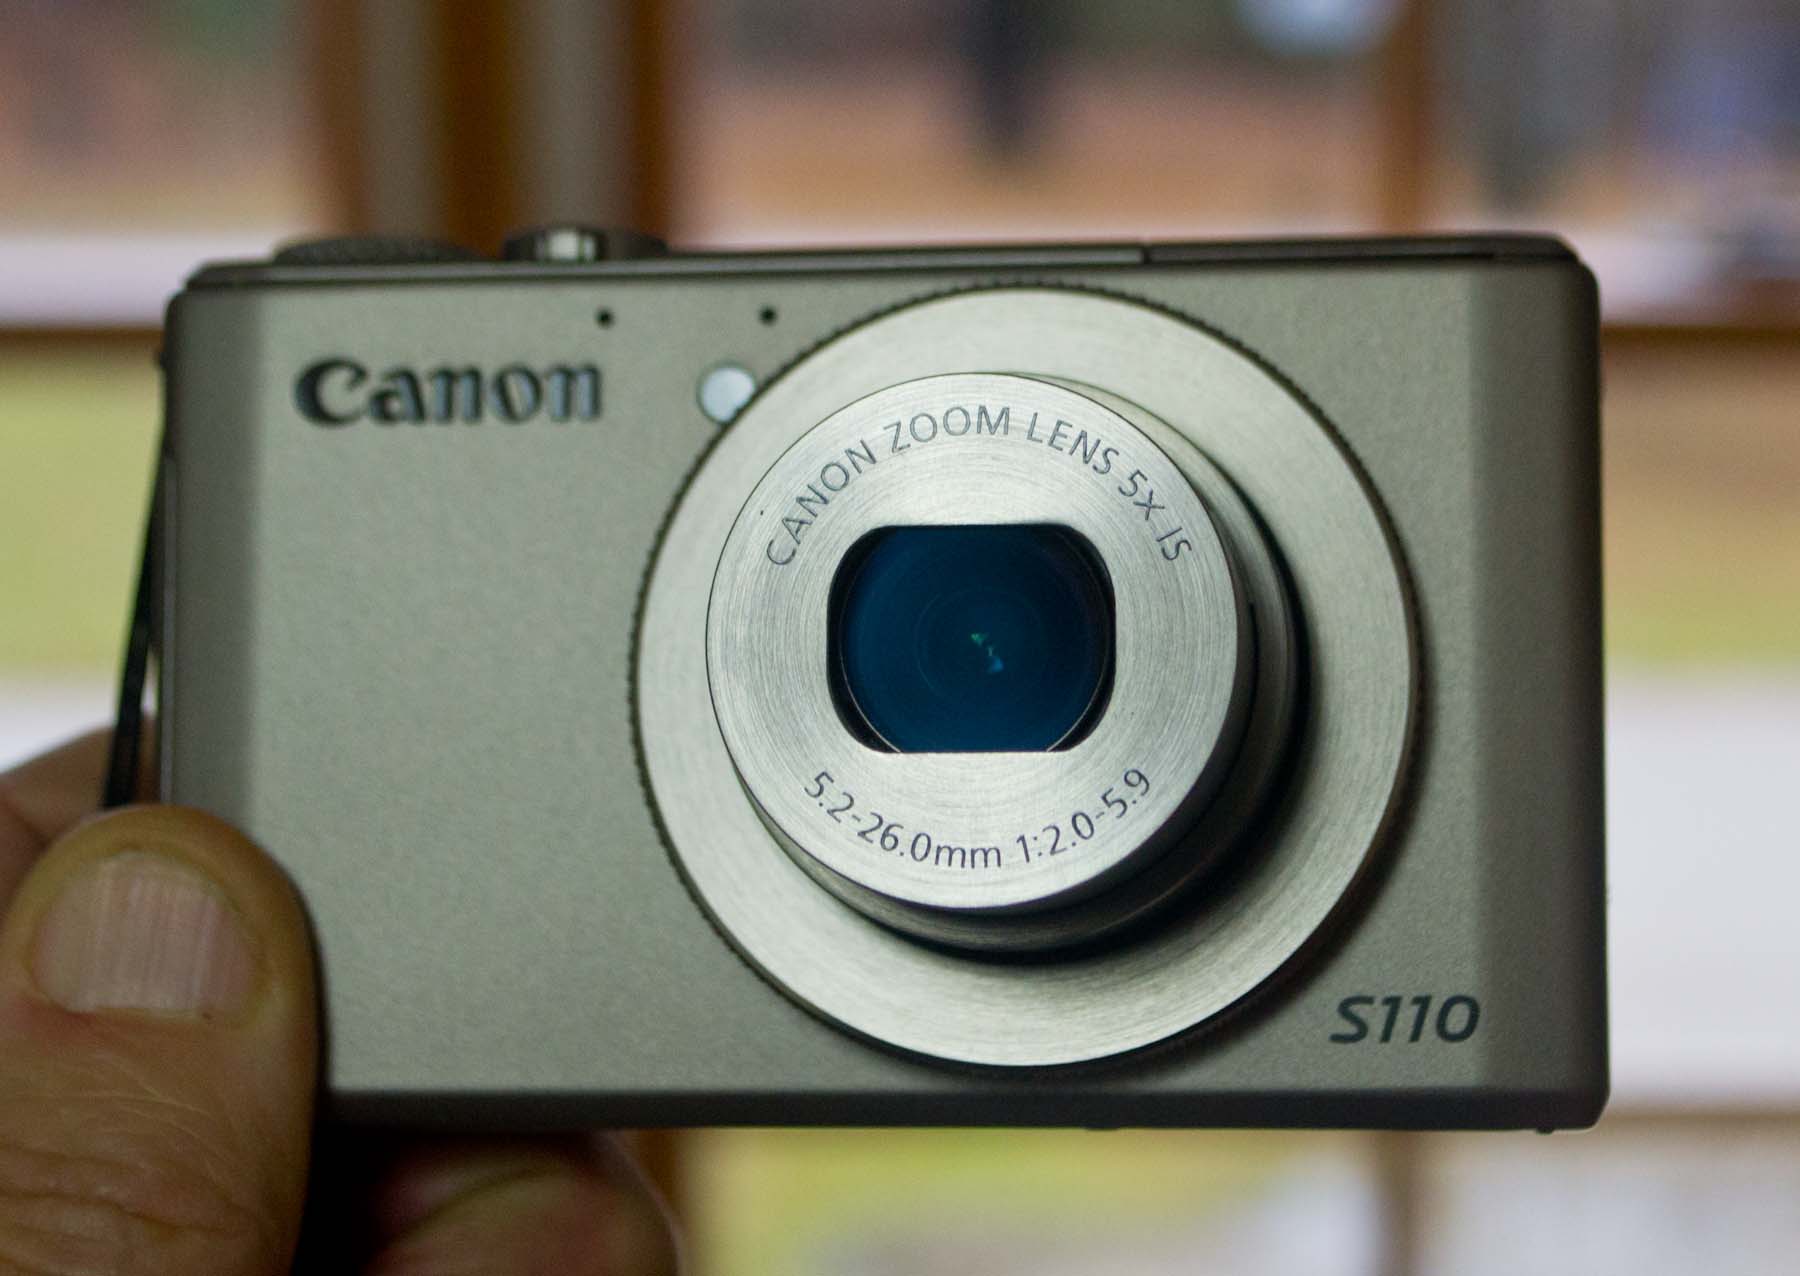
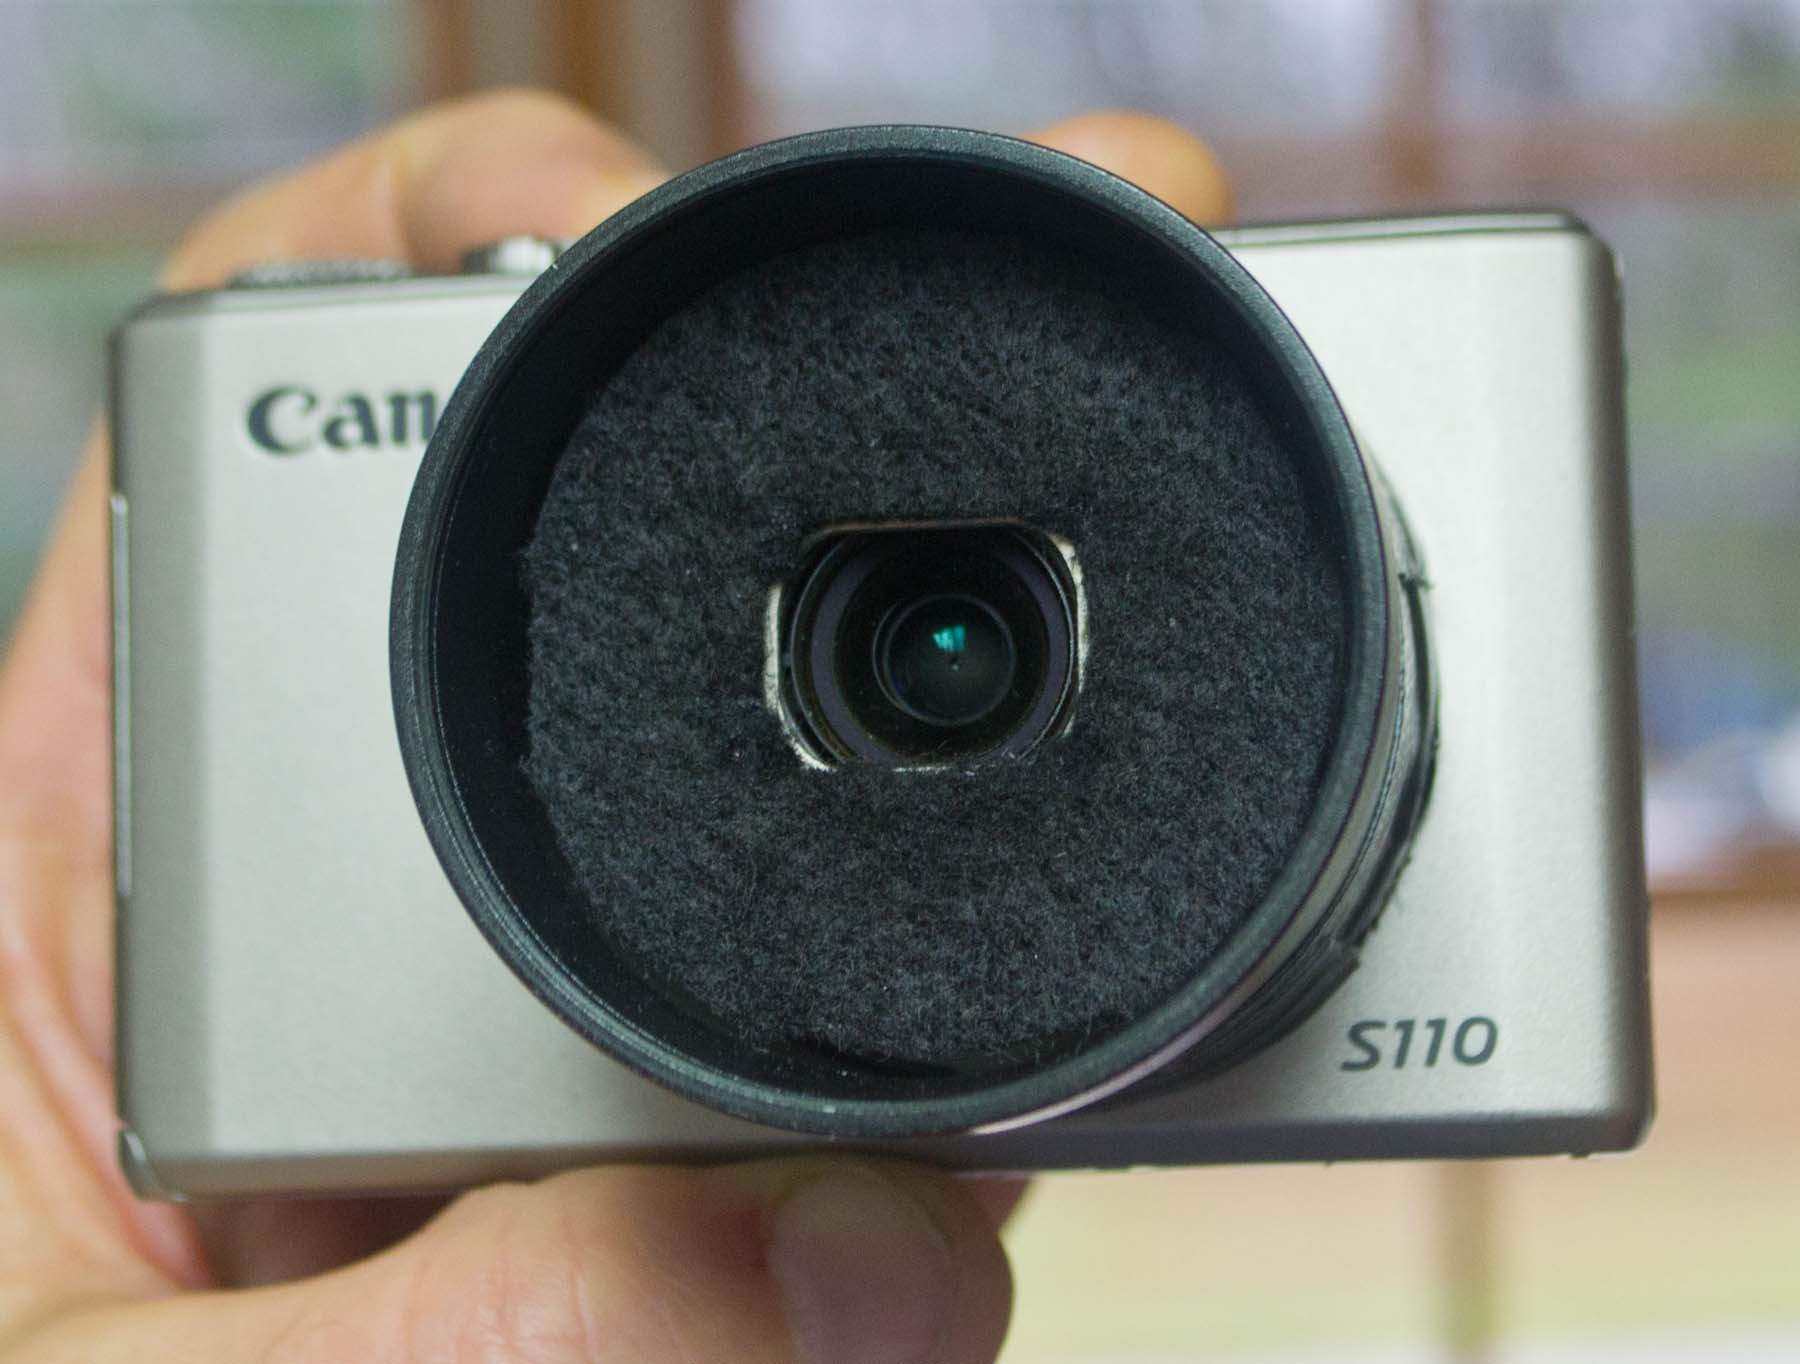
Above: We wanted camera RAW image files, so I removed the IR block filter from a PowerShot S110 which can save native raw files.Above: Reflections from the silver lens housing would reflect off the filter, so I taped some black felt to the front of the lens.
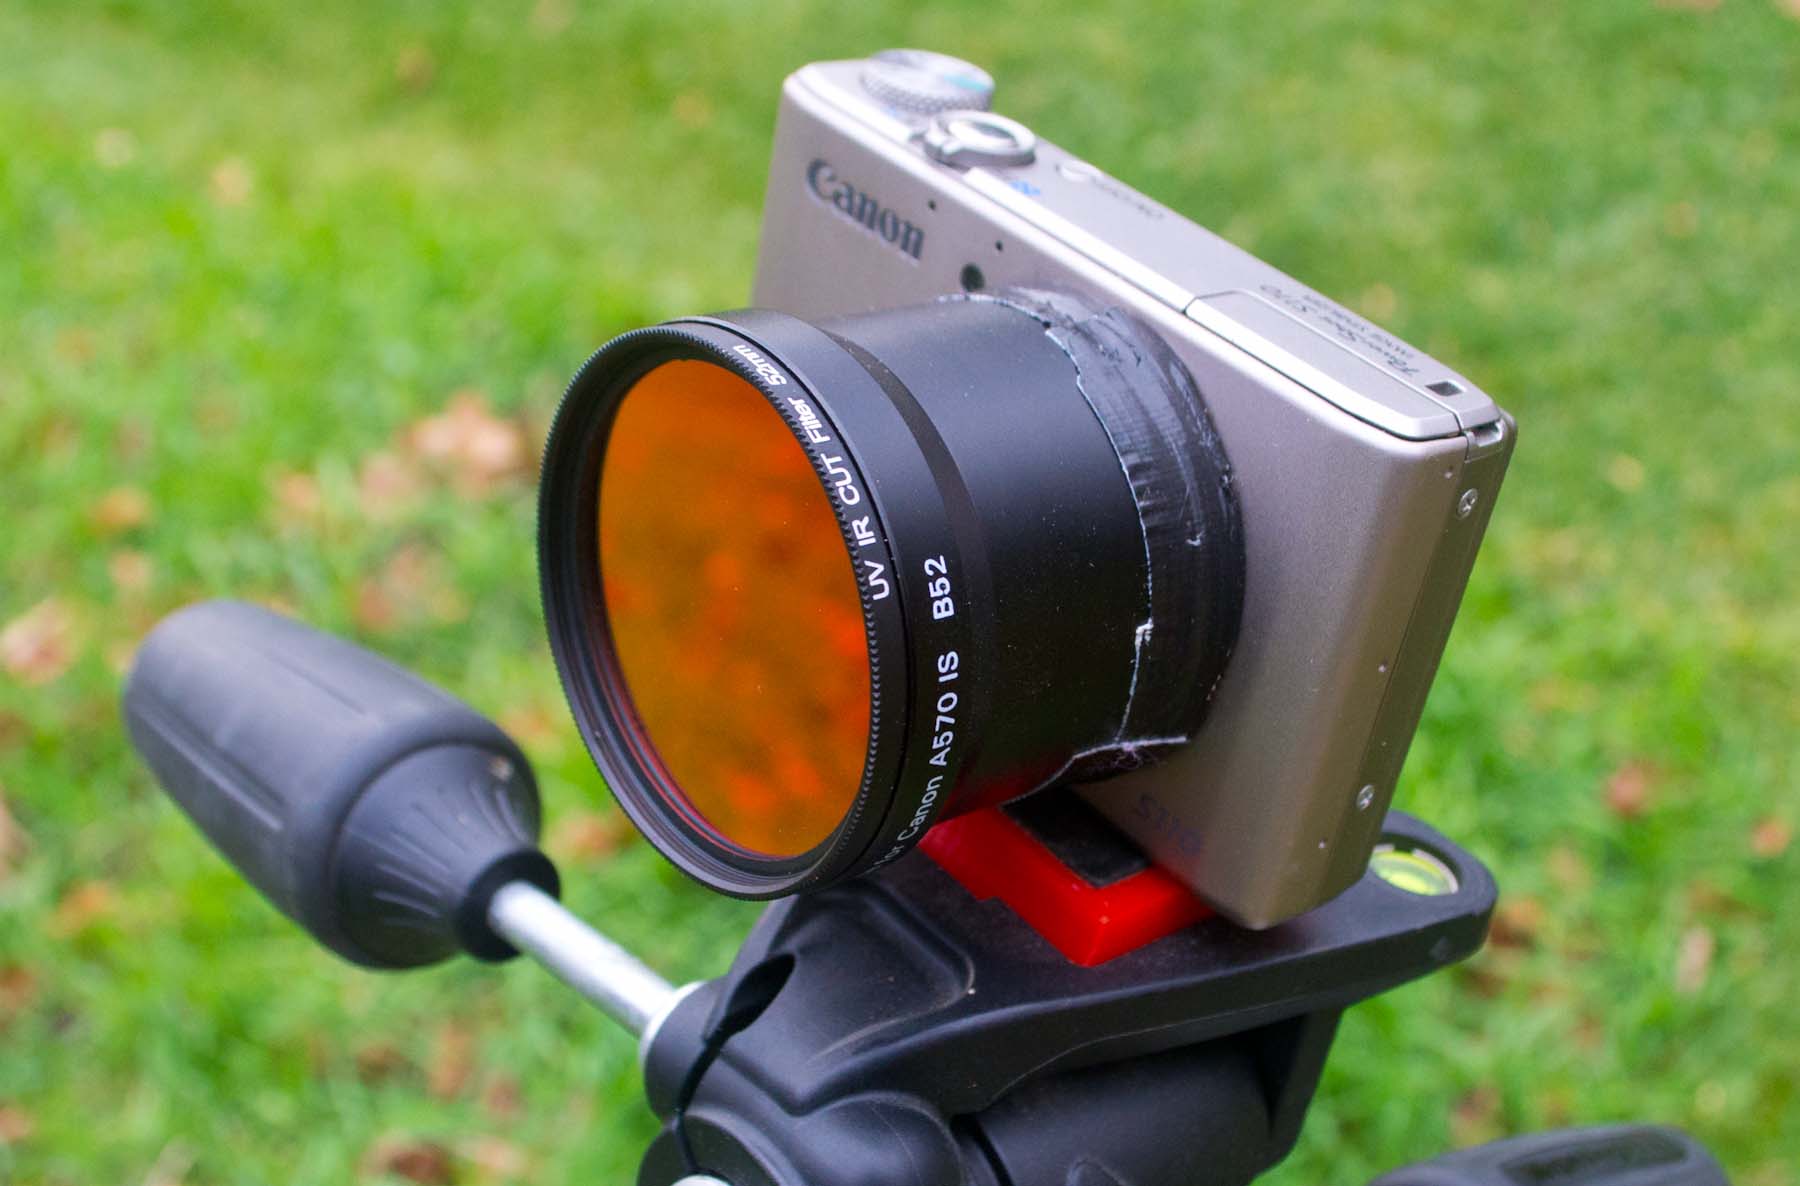
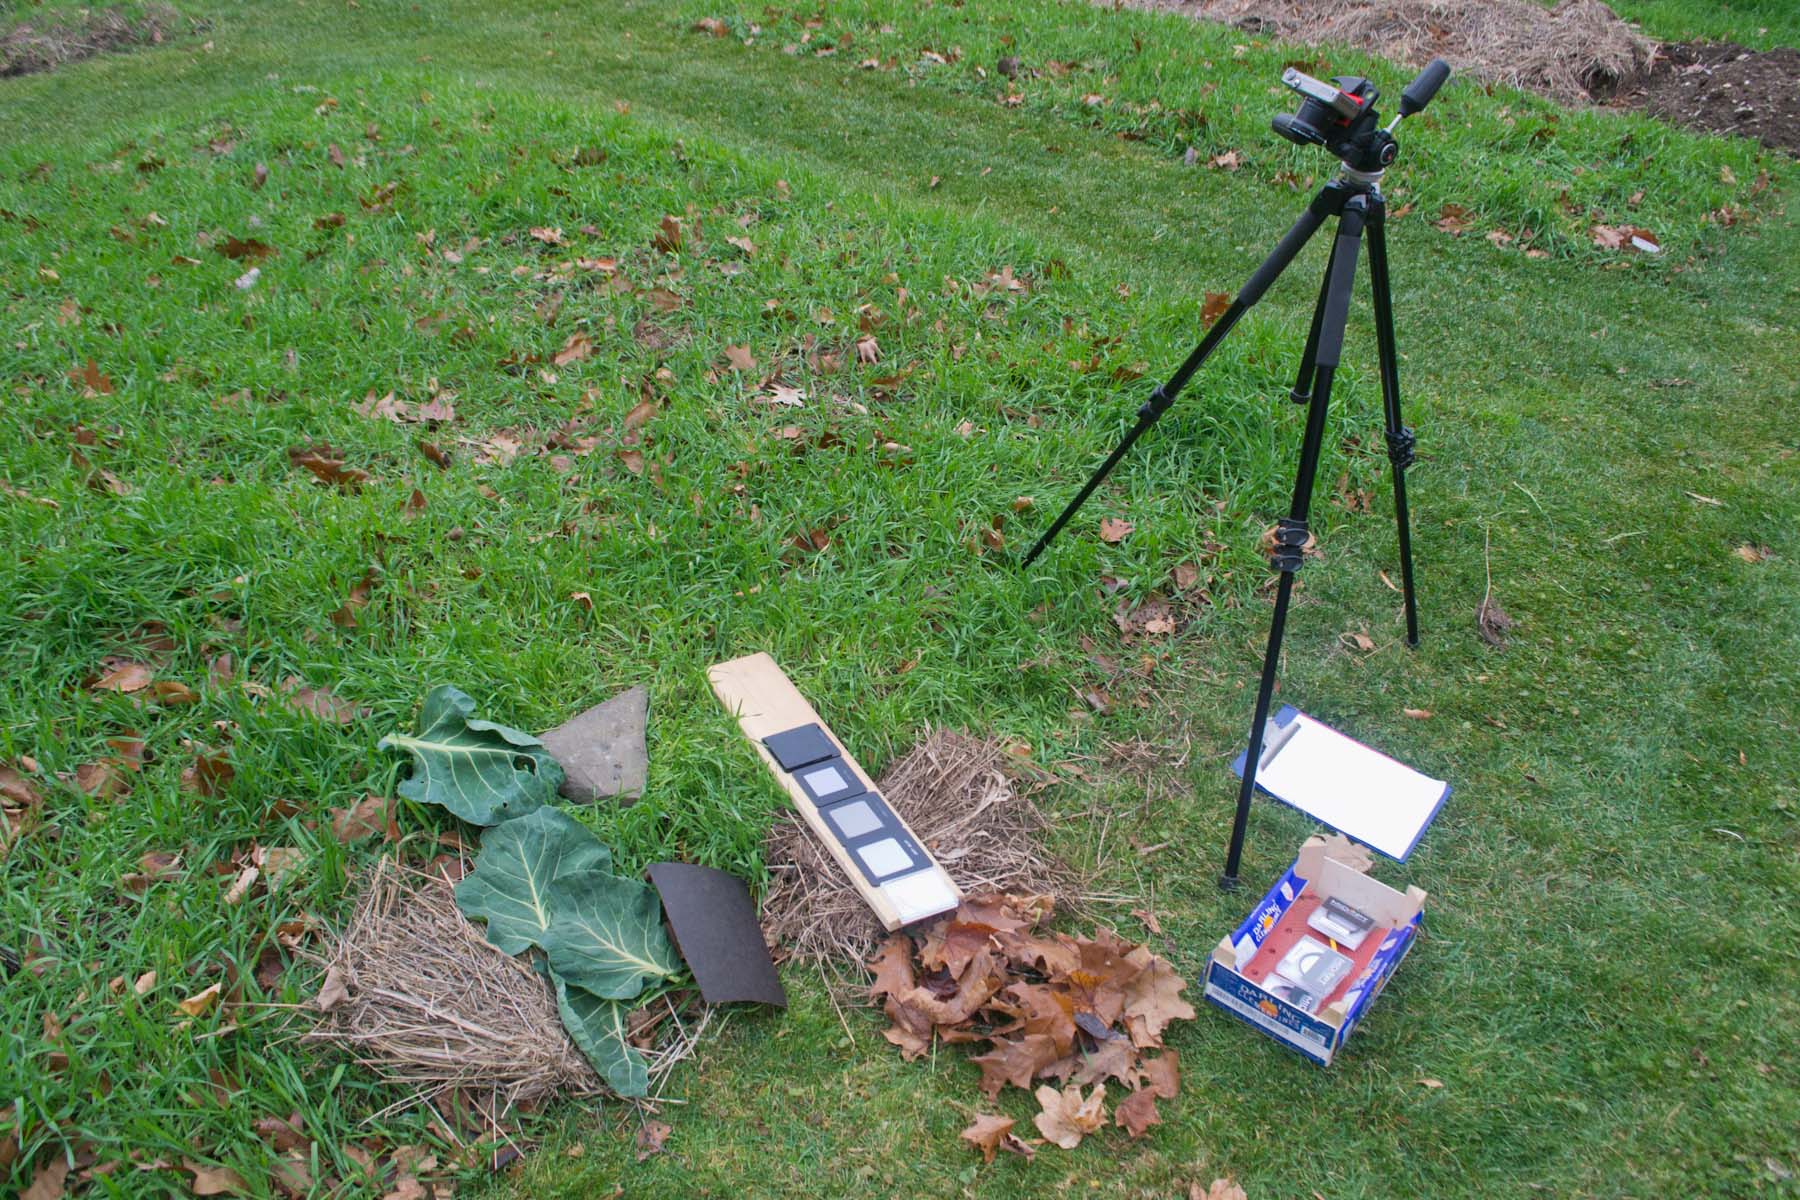
To use the filters we removed the IR block filter from inside some Canon PowerShots and placed the filters in front of the lens. Filter tubes for certain PowerShot models can be taped onto the front of any PowerShot and allow the filters to be easily swapped. Our standard protocol is to set up a solid tripod over a scene with some green plants, dead foliage, and calibration surfaces of known reflectivity. Photos of the same scene can then be taken with a series of different filters.
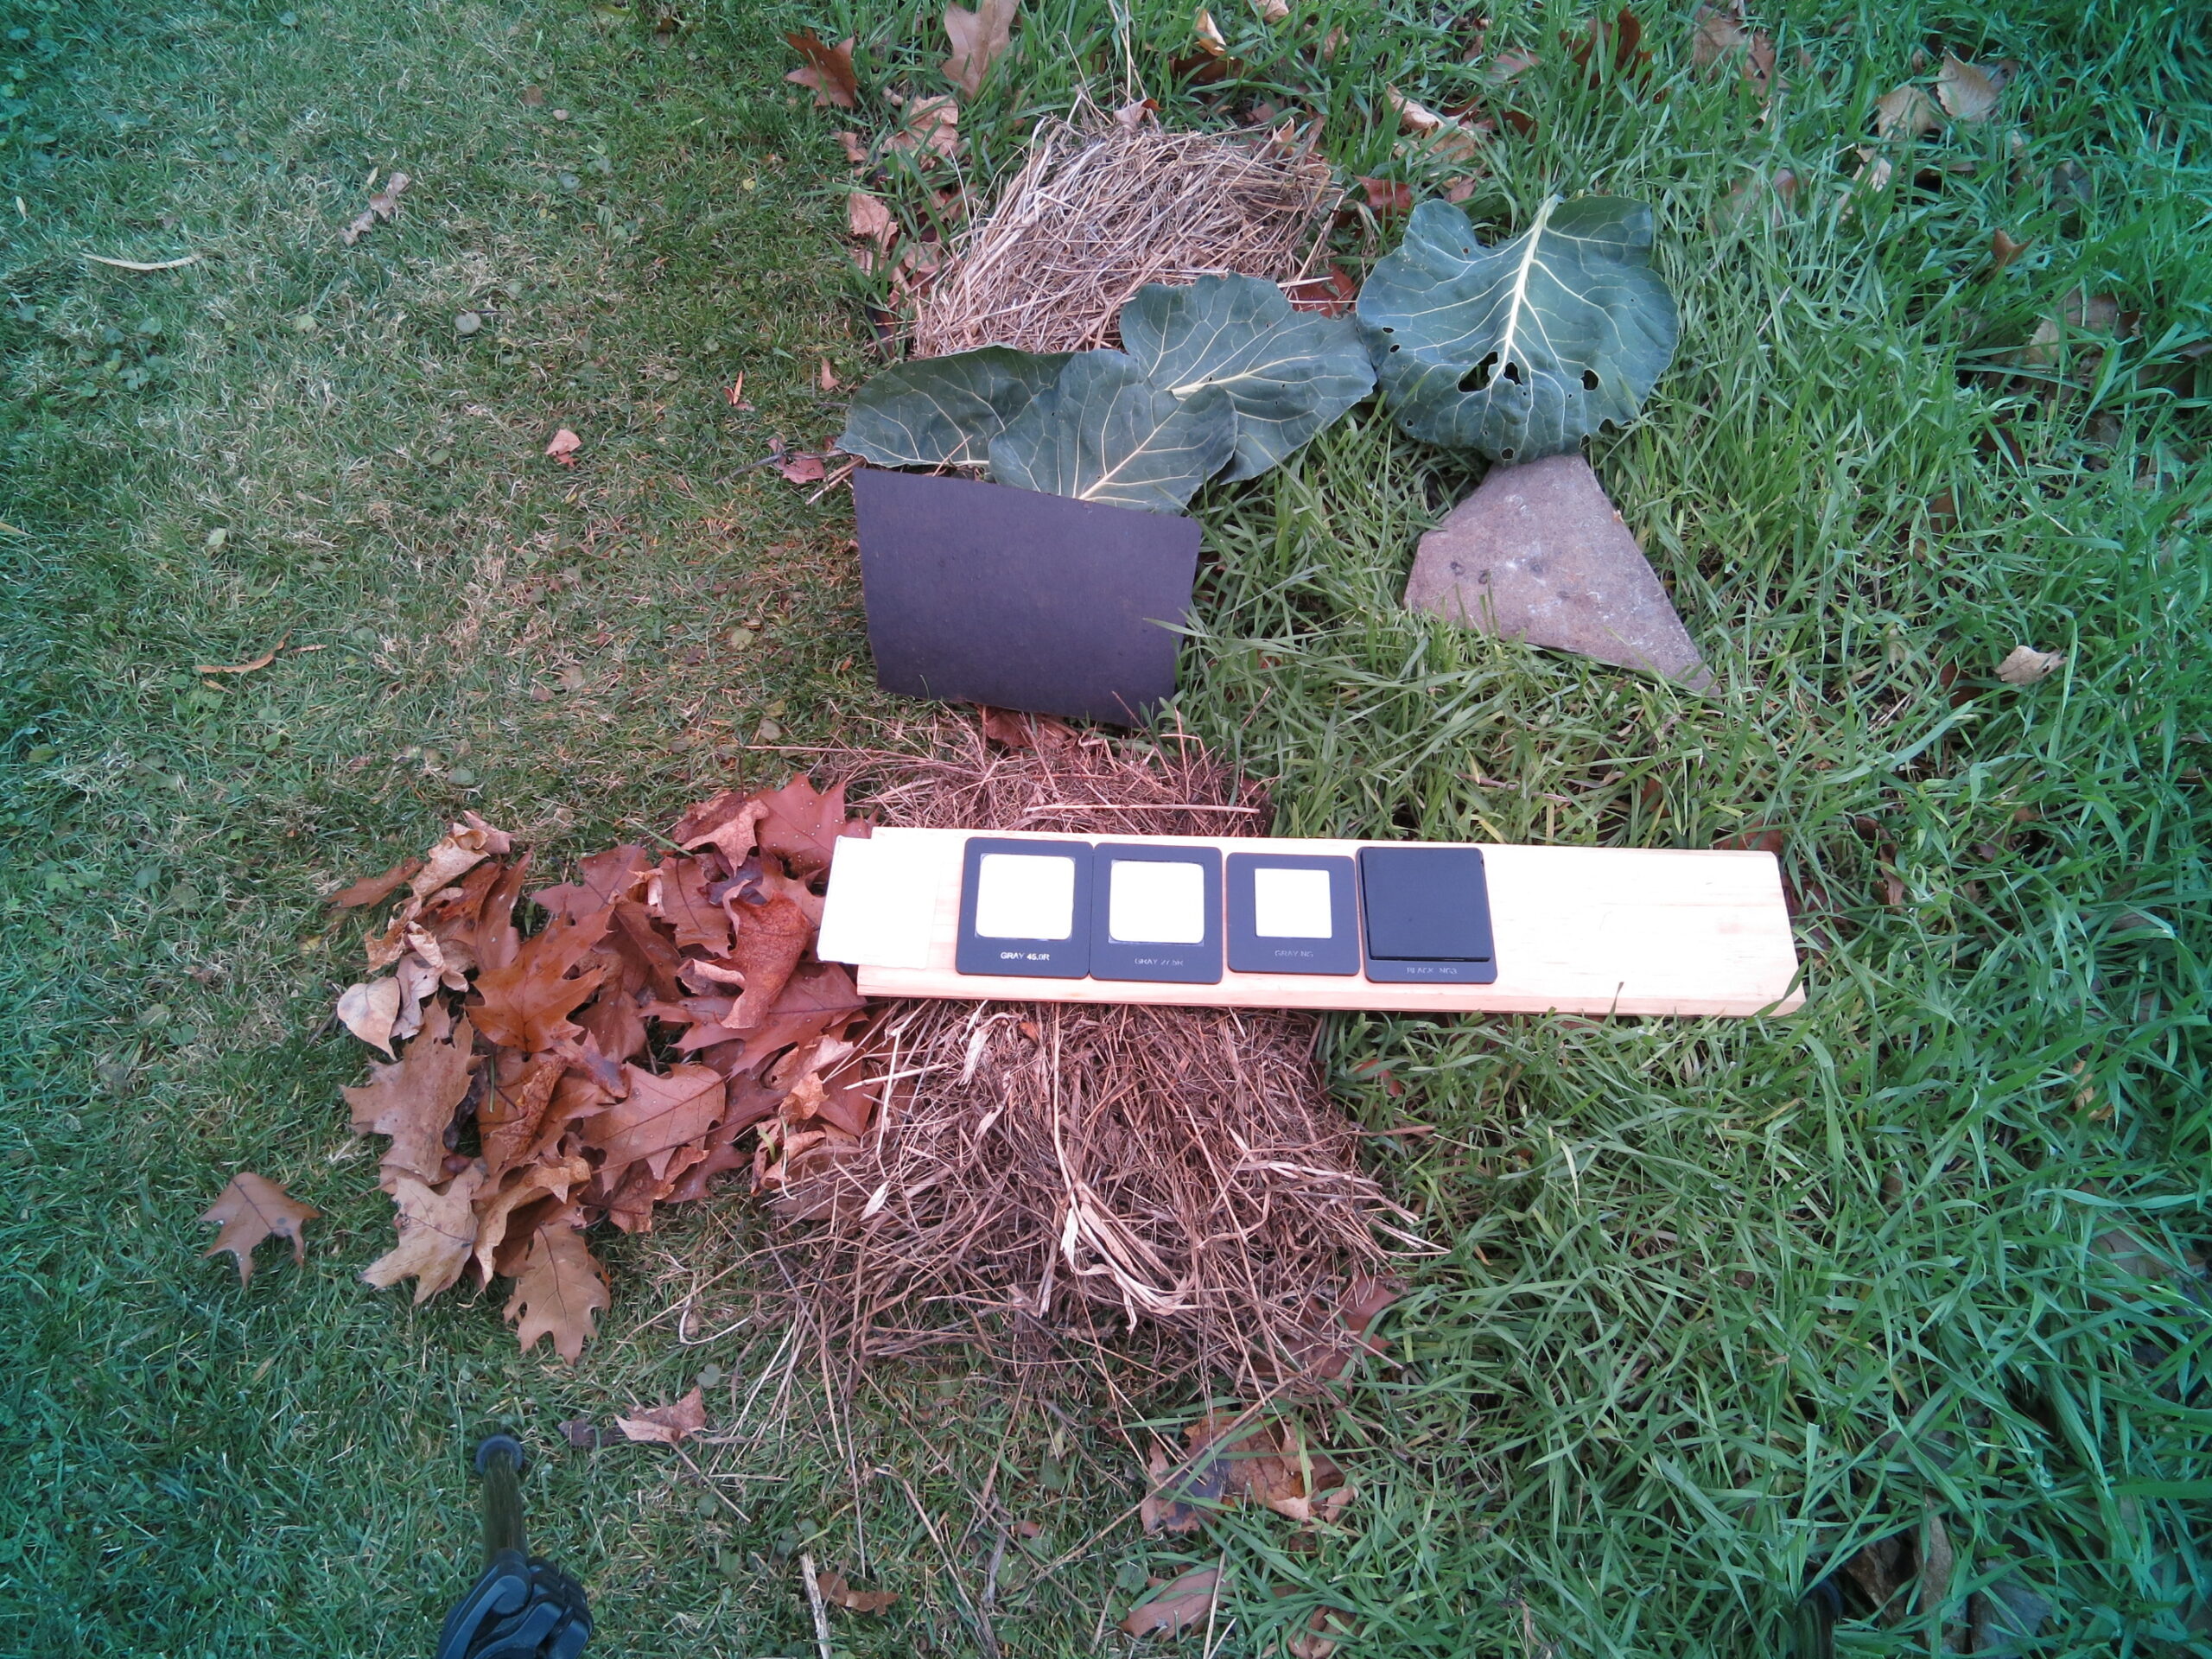
Above: Filters are easily swapped so the same scene can be photographed with lots of different filters.Above: The filter case with the printed filter name was put in the scene where it could be read in the photo (except when I forgot). I also kept a written list to record white balance settings and other notes. The S110 saved jpegs and camera raw files for each photo.Above: For this photo of the test scene, an IR block filter was put in front of the lens to replace the internal one I removed. The four dark squares on the pine board are targets with different reflectances. Each target reflects a particular percentage of light regardless of color, from 350 nm to 1200 nm.
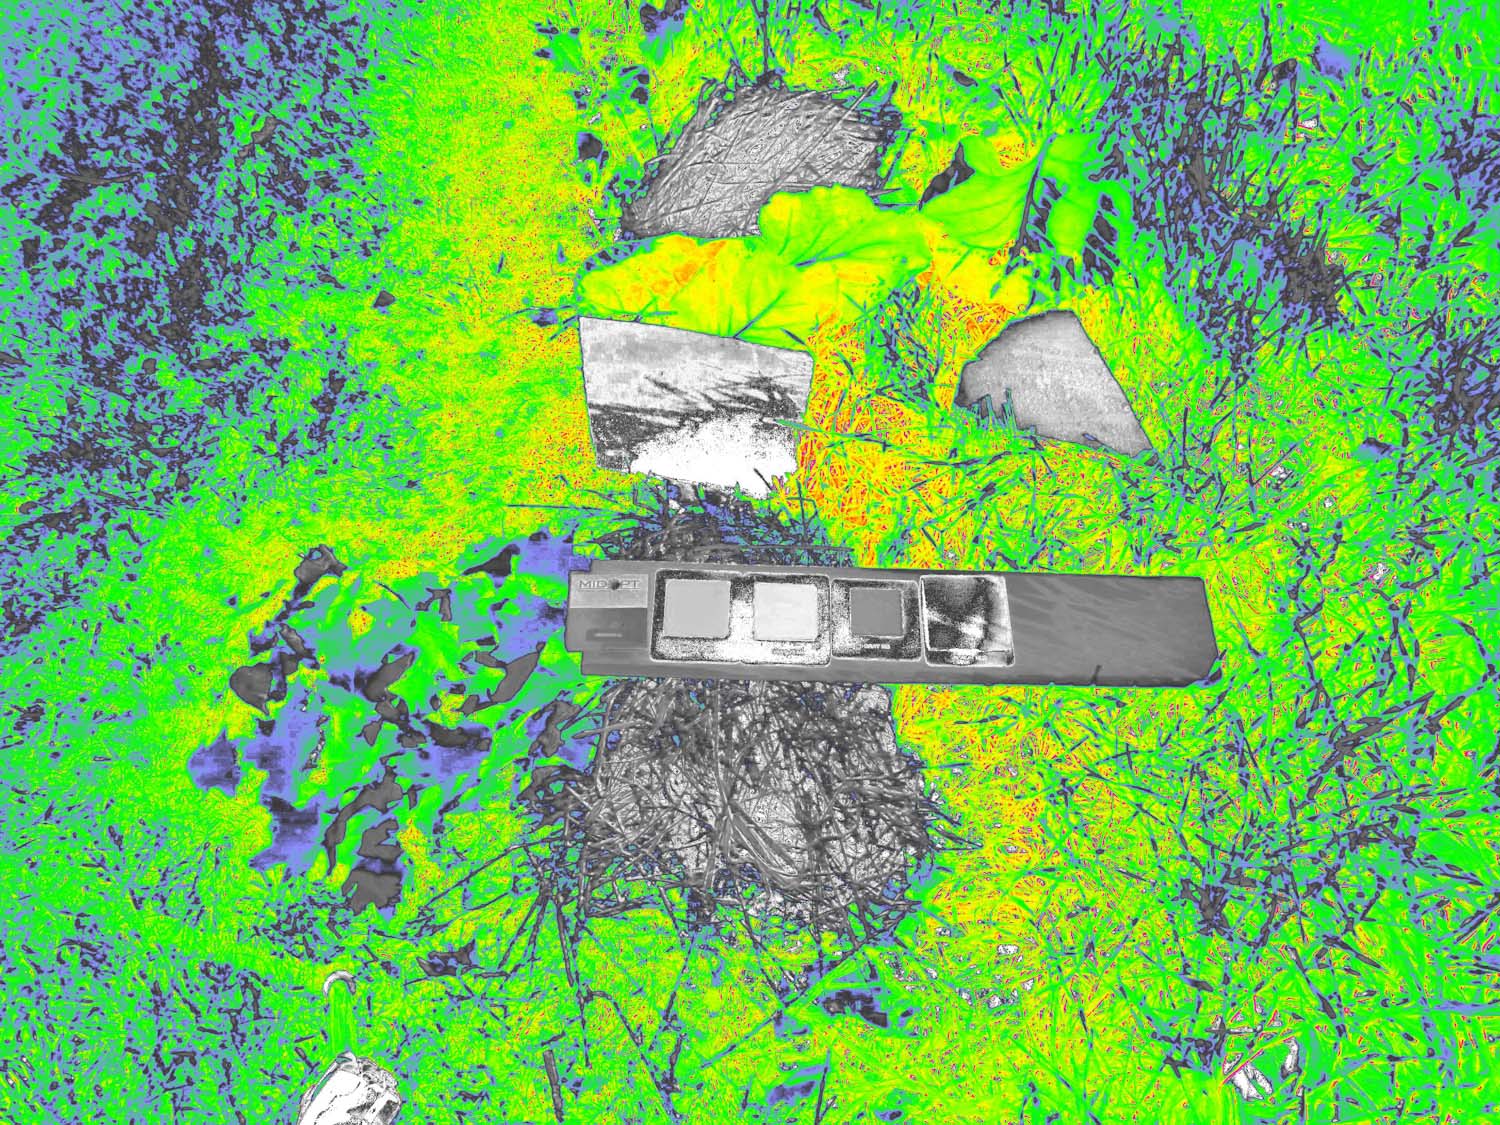
Ned will use these photos to refine his calibration routine. Below are some of my attempts to make NDVI from jpegs without calibration. So although the NDVI images distinguish healthy foliage from non-foliage, the particular NDVI values represented are not correct except by chance and brute force (from the white balance procedure).
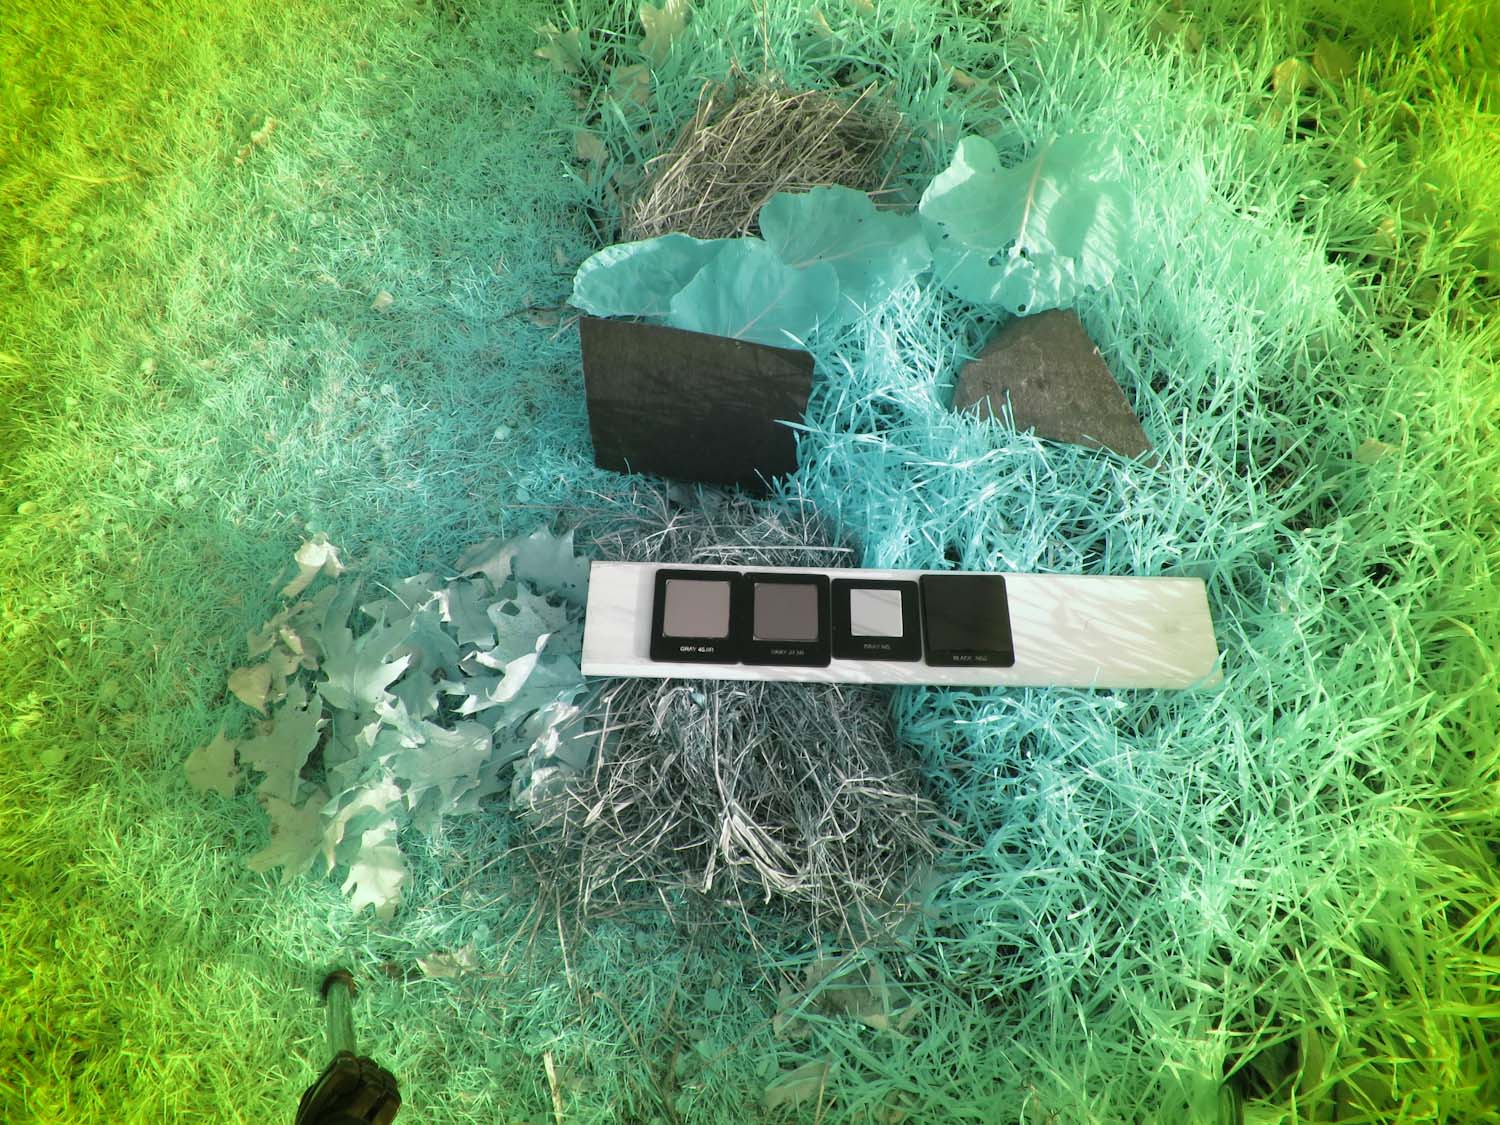
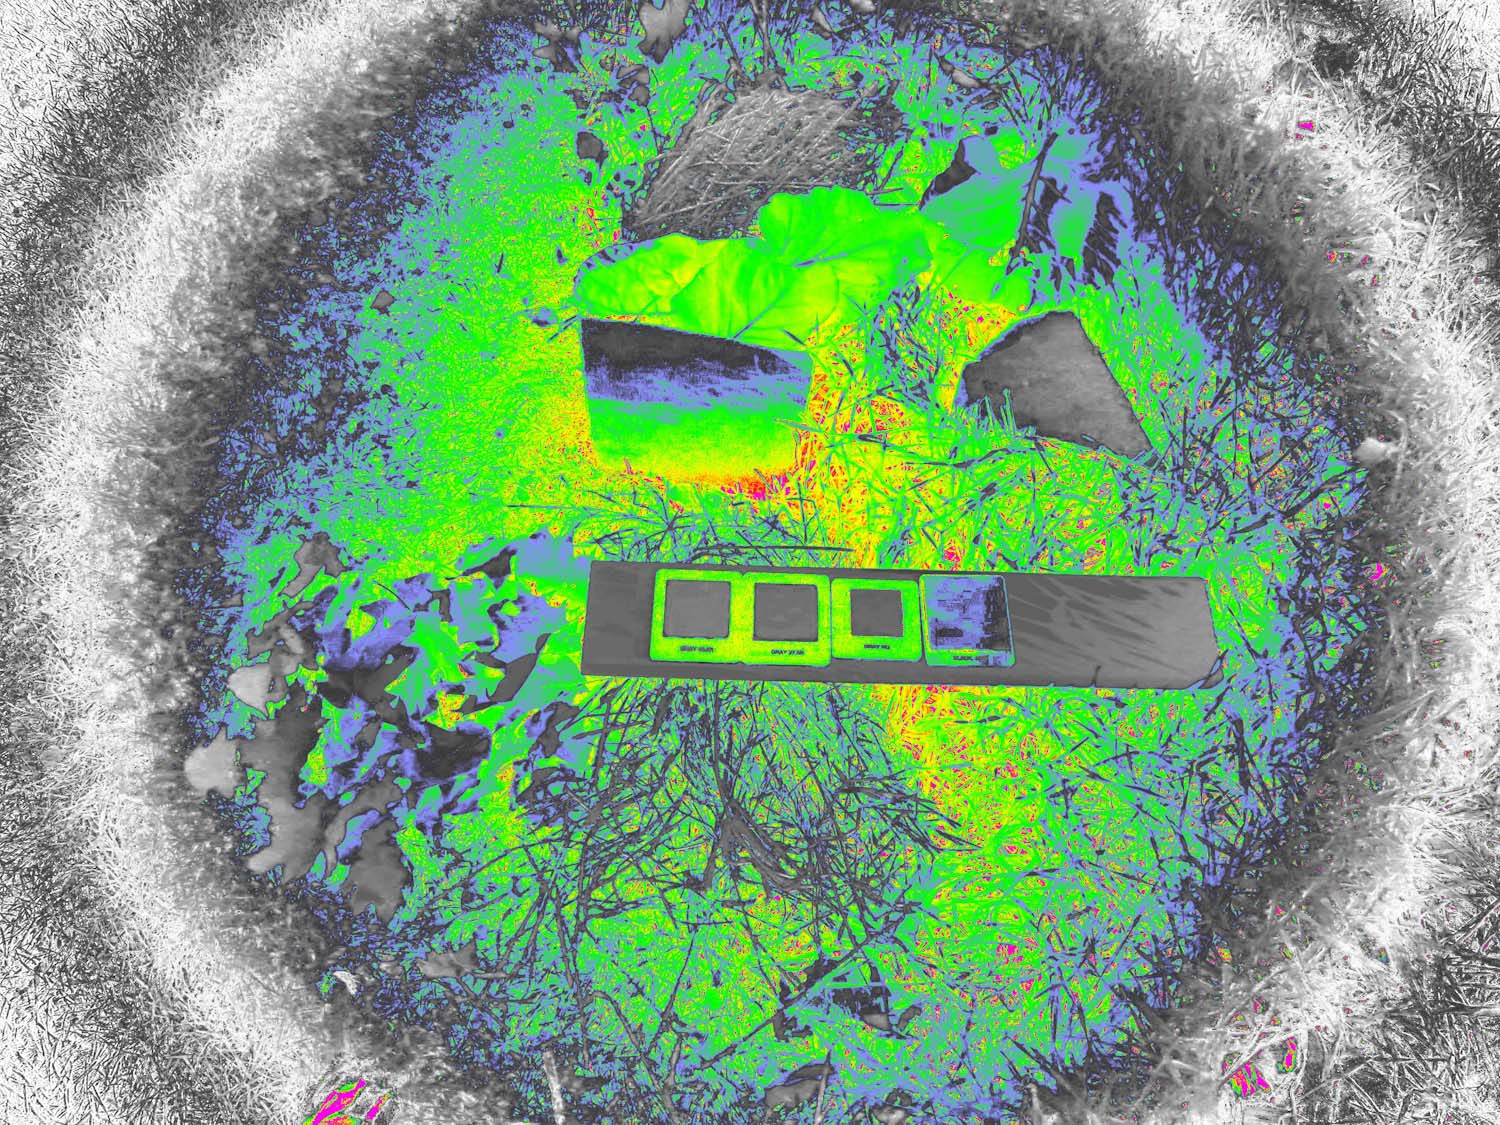
Above: This bluish photo was taken with a dual bandpass dichroic filter whose spectral transmission curve is below. The blue color is due to a custom white balance procedure done to the camera to make the blue channel brighter. The blue channel captures mostly near infrared (NIR) light. Note the vignetting at the corners.
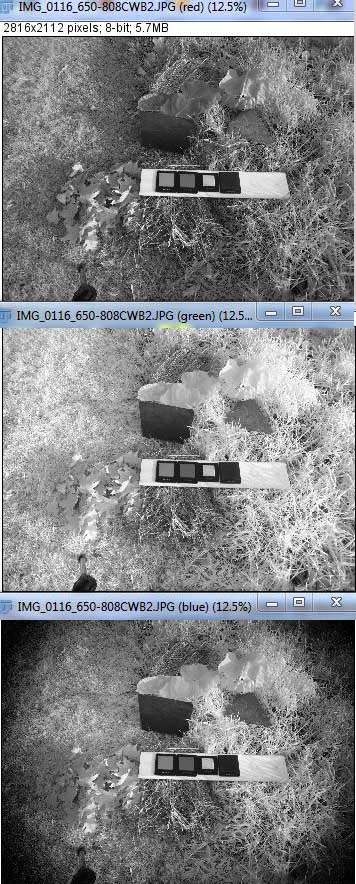
Above: The transmission curve for this filter. Only red light and NIR light can pass through the filter. Above: The three channels in the bluish photo above. The red channel (top) hascaptured mostly red light, but the green (middle) and blue (bottom) channels captured mostly NIR light. The blue channel has slightly more vignetting (dark corners), so I used the green channel for the NIR values when NDVI was computedAbove: NDVI derived from the red and green channels of the photo above. There is good discrimination between healthy foliage and non-foliage. The brown tree leaves might still have pigments that are absorbing red light and reflecting NIR.
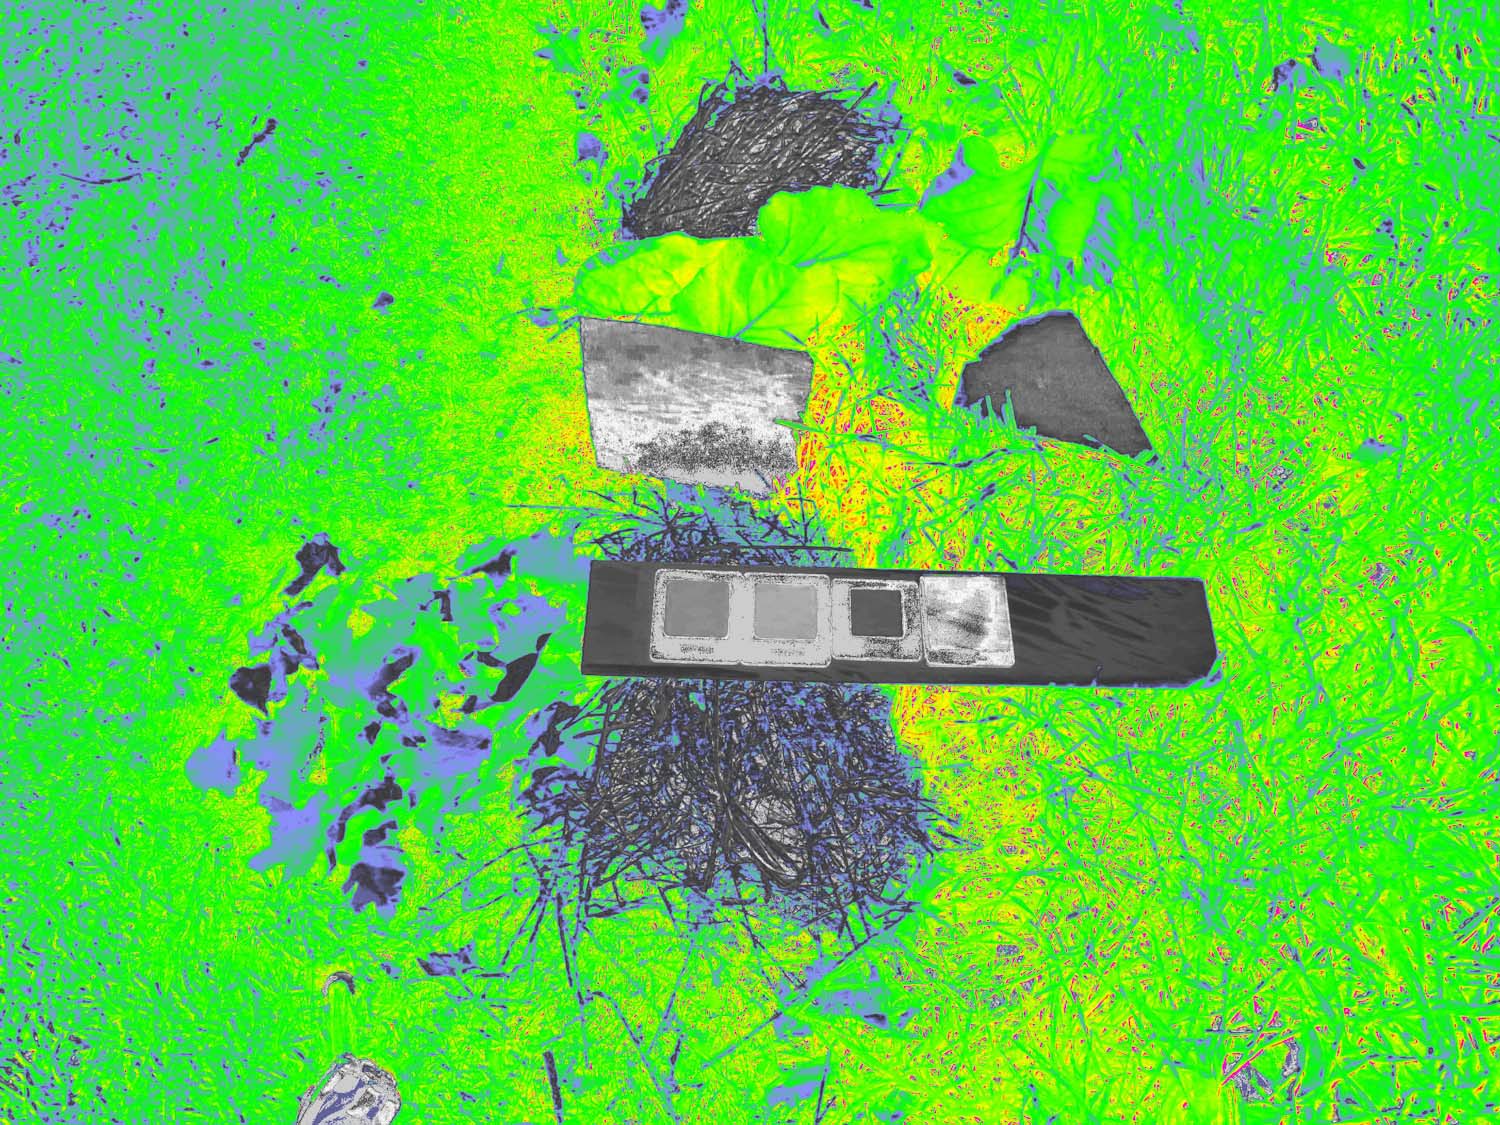
Above: The color scale applied to the NDVI images above and below. Healthy foliage typically has NDVI values between 0.2 and 0.7.Above: This photo was taken with a dual bandpass dichroic filter similar to the one above, but the transmission peaks are shifted slightly (to the left). The red band is centered on 650 nm (instead of 660 nm) and the NIR band is centered on 808 nm (instead of 850 nm). The same white balance setting was used. Note the stronger vignetting.Above: The three color channels in the photo above. The blue channel (lower) is strongly vignetted. Although the green channel (middle) also captured mostly NIR light (note the similar differences between foliage and non-foliage) the green channel is not vignetted. I don’t understand why there is this difference.Above: NDVI image using the red channel (red light) and blue channel (NIR) from the photo above. The dramatic vignetting is enhanced by the particular color table applied (same table as for the previous photo) but with any color table the vignetting would be distracting.Above: NDVI image using the red channel (red light) and green channel (NIR) from the photo above. Vignetting is mostly absent. This result is very similar to the NDVI result from the other filter (above).
The dramatic difference in vignetting between the two filters is unexplained, as is the difference between the green and blue channels in the photo with the second filter. What observations could I make which might reveal why these differences exist? Sweet mysteries.


