The PLOTS visible/near-infrared camera tool was ready to fly on Thursday, but the Fled could not find enough wind. So I switched on the two cameras and the timer and walked around the field making photos every 10 seconds.
Click images to enlarge (you might have to scroll the YouTube frame out of the way)
I aligned (rectified) each visible/NIR pair of photos in Photoshop, and then used GIMP to replace the blue channel in the regular image with the NIR information from the infrared camera to make an NRG image. Then I used GIMP’s functions which add, subtract, or divide the color values to compute NDVI (Normalized Difference

There is more about the process for doing all of this at the expanding wiki at http://publiclaboratory.org/wiki/dual-camera-kit-guide
A few lessons learned
Camera alignment: The alignment is close, so the two images are offset by about 60 pixels (both x and y). Alignment is important because it makes rectifying the images more productive — each pair of rectified images yields more final image when the stacked images coincide.
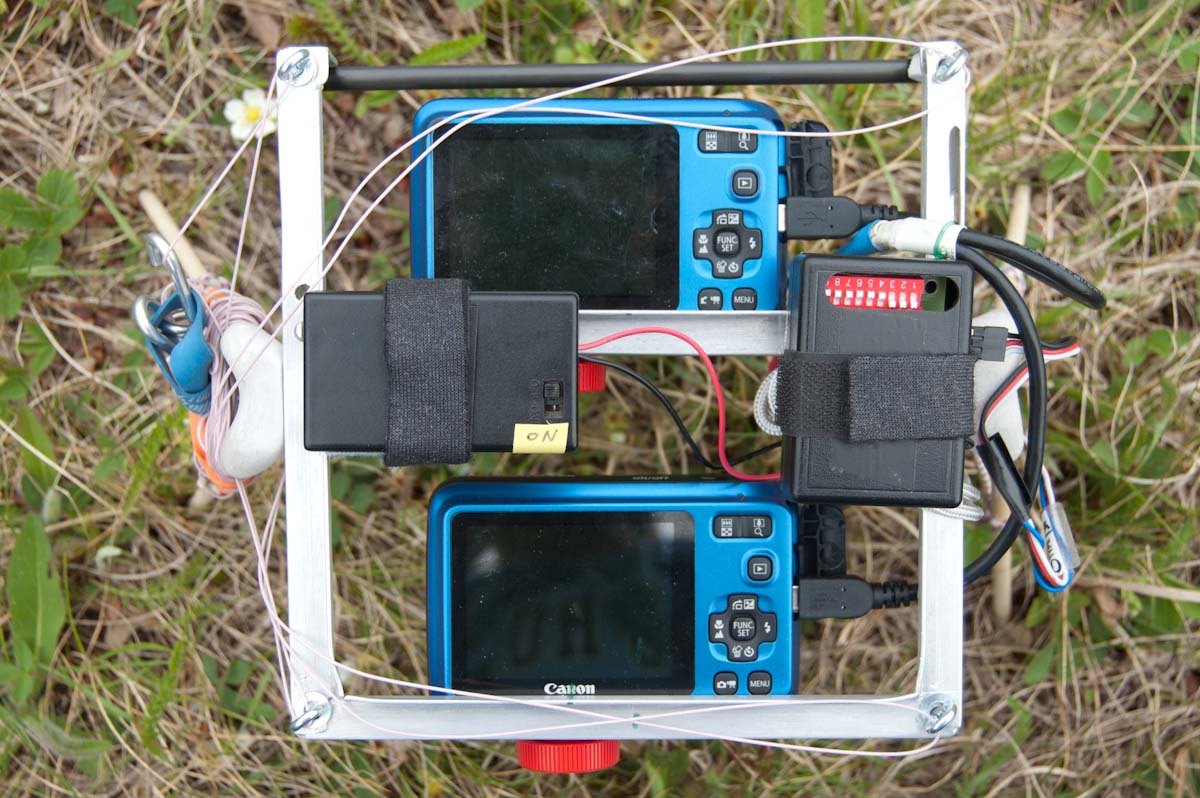
Exposure: The NIR camera needs about three times more light than the unmodified camera to make a decent exposure. I think increasing the ISO from 80 (the lowest setting on the A495) to 200 will be standard procedure for the NIR camera. With the unmodified camera at ISO 80 and 1/800 second, setting the NIR camera at ISO 200 and 1/640 second will give it 3.1 times more light at the same f-stop. For very bright scenes, even 1/800 second and ISO 200 will allow the NIR camera to make well exposed images.
Focus: The NIR camera has a harder time finding the correct focus. I tried both Normal and Infinity focus mode. Both seem to be automatic focus modes, but Infinity does not bother to search closer than about 10 feet. That is an important advantage, but it still results in the camera continuing to search for focus when it is time to shoot. In some situations this could cause the A495 to refuse to shoot and miss a photo. Using CHDK to fire both cameras simultaneously after a timer signals the USB port eliminates that problem because the camera shoots even if it is displaying an error due to failure to focus. So failure to focus in time will not cause missed photos, but the NIR camera will probably produce more out-of-focus shots than the normal camera. A camera with a true manual focus mode would be preferable. Although CHDK offers no menu control to lock focus, it does offer focus control via scripts. This will have to be investigated.
Stitching: I used Microsoft ICE to do the stitching. The NIR photos from the modified A495 stitch together into panoramas about as well as normal photos. The other images, all of which start with one photo aligned on top of another, are harder for stitching programs to match because adjacent images might have been aligned slightly differently. The false color NDVI is very hard to stitch because it has much less detail (nearby pixels with similar values are all assigned the same color which obscures fine detail). I had to do much of that stitching manually in Photoshop.
Heya i am for the first time here. I found this board
and I find It truly useful & it helped me out much. I hope to give something back and aid
others like you helped me.